For owners of classic Mercedes Benz models, particularly those predating 1995 with a 16-socket diagnostic port, understanding and addressing fault codes can sometimes feel like navigating a complex maze. While modern OBD-II scanners are commonplace, these older systems require a different approach. Fortunately, as demonstrated in this insightful forum thread, you can actually build your own code reader for a fraction of the cost of commercial tools. This guide delves into the world of DIY Mercedes Benz Code Readers, drawing inspiration from a hands-on experience to help you diagnose your vintage vehicle.
Building Your Own Budget-Friendly Code Reader
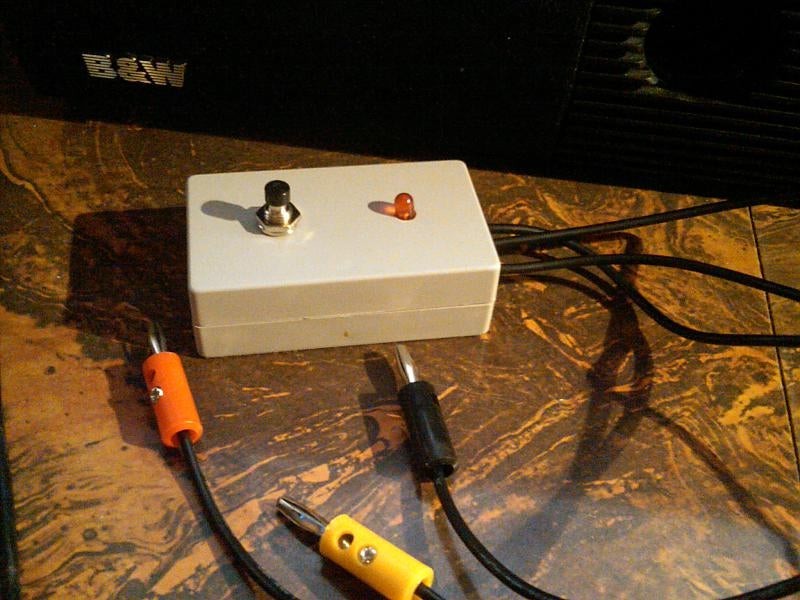
The beauty of this DIY approach lies in its simplicity and affordability. As highlighted by a resourceful Mercedes enthusiast, constructing a code reader can be remarkably inexpensive, often costing around $10, even when accounting for spare components. The core of this project involves basic electronics and soldering skills. While specific instructions and components are detailed in the linked forum thread, the fundamental principle revolves around creating a circuit with an LED indicator that can interpret the diagnostic signals from your Mercedes’ 16-pin socket.
 DIY Mercedes code reader components and wiring
Image showing the components and wiring of a DIY Mercedes Benz code reader, emphasizing its simplicity and accessibility for home assembly.
Note on LED Polarity: A crucial point to remember when assembling your code reader is the polarity of the LED. Incorrect installation is a common pitfall, so double-checking the LED’s orientation is essential for the reader to function correctly.
Decoding Diagnostic Trouble Codes on Pre-1995 Mercedes Benz
Once your DIY code reader is assembled, the next step involves using it to retrieve and interpret diagnostic trouble codes from your Mercedes. This process typically involves connecting the reader to the diagnostic socket and observing the blinking LED. Each socket corresponds to a specific system within the car, and the sequence of blinks emitted by the LED represents a fault code.
Understanding Blink Codes: Mercedes diagnostic systems of this era utilize blink codes to communicate errors. A series of blinks, separated by pauses, indicates a specific fault code number. For example, “17 blinks” on socket 8, as experienced by the original poster, points to a “Crankshaft position sensor faulty” error.
Example Code Reading Session: Let’s examine a real-world example of code reading using a DIY reader, based on the experience shared:
- Socket 3: Initially showed “17 blinks” but after clearing, indicated “1 blink [Okay]”. This suggests an intermittent issue or a code that was successfully cleared.
- Socket 6: Displayed a “steady light” when the circuit was shorted, which is an unusual response and might require further investigation into the reader’s functionality or the diagnostic system itself.
- Socket 7 & 12: Also showed a “steady light,” the meaning of which might need to be referenced in a specific Mercedes diagnostic manual for the model year.
- Socket 8: “17 blinks” – “Crankshaft position sensor faulty.” This is a clear fault code pointing to a specific component.
- Socket 10: A long series of blinks indicating multiple codes (13, 14, 15, 16, 17, 18, 20, 28, 29) related to the soft top system, roll bar, hardtop recognition, and speed sensor signals. This suggests potential issues within the soft top control system and potentially wheel speed sensors.
- Socket 14: “1 blink [Okay]”.
Clearing Codes and Next Steps: The process of clearing codes on these older Mercedes systems usually involves shorting the circuit at the diagnostic socket for a specific duration. However, as the original poster noted, clearing codes may not always be straightforward and might require specific procedures depending on the system and code.
If you encounter persistent codes, especially after attempting to clear them and after re-reading them following a drive, it’s crucial to investigate further. In the example above, the recurring code 17 on socket 8 (Crankshaft Position Sensor) and the multiple codes on socket 10 warrant a more detailed inspection of the crankshaft position sensor and the soft top/roll bar systems.
Beyond Basic Codes: It’s also important to recognize that DIY code readers of this type might not access all diagnostic information. For instance, issues related to the Electronic Throttle Actuator (ETA) might not be reported through the standard blink code system and may require specialized diagnostic tools. Similarly, intermittent electrical issues, like the SRS/ABS flickering and limp mode described, can be challenging to diagnose with basic code readers and could point to underlying wiring or sensor problems that require professional attention.
Conclusion: Empowering DIY Diagnostics for Classic Mercedes
Building and using a DIY Mercedes Benz code reader is a rewarding endeavor for classic car enthusiasts. It offers a cost-effective way to access basic diagnostic information and troubleshoot common issues. By understanding blink codes and system-specific socket assignments, you can gain valuable insights into your vehicle’s health.
However, it’s also essential to acknowledge the limitations of DIY tools. For complex or persistent problems, especially those involving safety systems or engine management, professional diagnostic equipment and expertise are recommended. Nevertheless, a DIY code reader serves as an excellent starting point for understanding your classic Mercedes and tackling minor issues, empowering you to maintain your vehicle with greater knowledge and confidence.