Ensuring your Mercedes-Benz diagnostic system is up-to-date is crucial for efficient and accurate vehicle servicing. Xentry software is the cornerstone of Mercedes-Benz diagnostics, offering comprehensive capabilities for troubleshooting, programming, and maintenance. This guide provides a detailed, step-by-step walkthrough on how to perform a successful Xentry Software Installation, ensuring your diagnostic system is ready for any challenge. Whether you’re a seasoned automotive technician or a dedicated DIY enthusiast, this article will navigate you through each stage of the process.
Before you begin, it’s important to note that Xentry software installation is designed for Windows 10 operating systems and requires a preliminary step in your BIOS settings: disabling the secure boot option. This adjustment is essential for a smooth and successful installation process.
Step-by-Step Xentry Software Installation Guide
The following steps outline the complete Xentry software installation process. While the images may depict an older version, rest assured that the core installation procedures remain consistent for the latest Xentry Open Shell 12.2023 and newer versions.
Step 1: Initiate the Installation
Begin by locating the installation folder, typically named “XDS_[version number]”. Inside, find and double-click the “start” application file. This action will launch the Xentry software installation wizard and begin the setup process.
Image alt text: Starting the Xentry software installation process by running the ‘start’ application from the installation folder.
Step 2: Language Preference
Upon launching the installer, you will be prompted to select your preferred language for the installation process. Choose your language from the provided options to proceed with the Xentry software installation in your desired language.
Image alt text: Language selection screen during Xentry software installation, allowing users to choose their preferred language for the setup.
Step 3: Installation Prerequisites
The Xentry software installation wizard will then check for necessary prerequisites. A dialog box will appear, indicating the required components for XENTRY Diagnostic OpenShell to function correctly. Click “Install” to allow the system to install these essential components.
Image alt text: XENTRY Diagnostic OpenShell installation prerequisite check, prompting the user to install required components.
Step 4: InstallShield Wizard Commencement
The InstallShield Wizard will initiate the Xentry software installation. Click “Next” to proceed with the setup and begin the core installation steps.
Image alt text: Initial screen of the InstallShield Wizard for XENTRY Diagnostic OpenShell, prompting the user to click ‘Next’ to continue.
Step 5: License Agreement Acceptance
Carefully read the terms of the license agreement. To continue with the Xentry software installation, you must accept the terms and conditions. Select “I accept the terms in the license agreement” and click “Next”.
Image alt text: XENTRY Diagnostic OpenShell license agreement screen, requiring user acceptance to proceed with the installation.
Step 6: Destination Folder Selection
The installer will suggest a default installation directory for Xentry software installation. It is recommended to keep the default setting for optimal performance and system compatibility. Click “Next” to continue with the default destination folder.
Image alt text: Destination folder selection during XENTRY Diagnostic OpenShell installation, recommending users to use the default installation path.
Step 7: Ready to Install
You are now ready to begin the actual Xentry software installation process. Click “Next” on the “Ready to Install the Program” screen to initiate the file installation.
Image alt text: ‘Ready to Install the Program’ screen in InstallShield Wizard, prompting the user to click ‘Next’ to start the XENTRY software installation.
Image alt text: Confirmation screen before initiating the installation of XENTRY Diagnostic OpenShell, indicating the start of the software setup process.
Step 8: Installation Progress
The Xentry software installation process will now commence. This stage may take a considerable amount of time, potentially exceeding two hours, depending on your computer’s processing capabilities and speed. Allow the installation to proceed without interruption.
Image alt text: Installation progress bar for XENTRY Diagnostic OpenShell, indicating that the software is being installed and may take a significant amount of time.
Step 9: Completion of Installation
Wait for all modules to be installed completely. The installation wizard will notify you upon successful completion of the Xentry software installation process.
Image alt text: Completion screen of the XENTRY Diagnostic OpenShell installation, indicating that all modules have been successfully installed.
Step 10: System Restart
After the Xentry software installation is complete, the wizard will prompt you to restart your computer. Follow the prompt and restart your system to finalize the installation and allow the software to configure itself.
Image alt text: System restart prompt after XENTRY Diagnostic OpenShell installation, advising the user to restart their computer to complete the setup.
Upon restarting, ConfigAssist might launch automatically. Close ConfigAssist as further configuration steps are required.
Step 11: ConnectorAPI Integration
Navigate to the “ConnectorAPI” folder. Copy the “ConnectorAPI64.dll” file to C:\Windows\System32. Next, double-click “64.reg” and confirm to add the information to your system registry by clicking “OK”. This step is vital for proper communication between the software and diagnostic interfaces.
Step 12: SysWOW64 File Placement
Open the “SysWOW64” folder. Copy the “XentryAPI.dll” file and paste it into C:\Windows\SysWOW64. Subsequently, double-click “old key loader for configassist or startkeycenter 64bit.reg” and click “OK” to merge it into the registry.
Step 13: Blacklist Execution
Run “XDOS black list.exe” from the installation package. Click “Extract” to execute the blacklist utility.
Step 14: Baureihen Image Integration
Copy the images located in the “Baureihen” folder to the directory: C:\Program Files (x86)\Mercedes-Benz\Xentry\Kontexte\Produktuebersicht\Bilder\Baureihen. This step ensures vehicle model images are displayed correctly within the Xentry software.
Step 15: Xentry Configuration Setup
Go to C:\ProgramData\Mercedes-Benz\config and create a new folder named “Xentry”. Then, navigate to C:\ProgramData\Mercedes-Benz\config\XD_MB. Copy the file “GlobalUserSettings.properties” to the newly created “Xentry” folder in the previous step (C:\ProgramData\Mercedes-Benz\config\Xentry).
Step 16: Software Activation
Run ConfigAssist to proceed with activation. To obtain your Smart Key code, copy your Hardware ID and send it to [email protected]. Note that activation is a paid service. Alternatively, for users who prefer self-activation and multiple PC activations, consider purchasing the XENTRY Advanced KeyGen 1.1 Long Key. For single PC activation, consider the Xentry.OpenShell.XDOS Installation Service available for purchase. In ConfigAssist, click “Manual”, enter your StartKey code, and click “Save”. A “StartKey installed successfully” message will confirm successful activation.
Image alt text: ConfigAssist interface for manual StartKey entry, part of the XENTRY software activation process.
Image alt text: Manual activation option in ConfigAssist, allowing users to input their StartKey for XENTRY software activation.
Image alt text: StartKey input field in ConfigAssist, where users enter their activation code for XENTRY Diagnostic OpenShell.
Image alt text: Confirmation message of successful StartKey installation in ConfigAssist, indicating successful XENTRY software activation.
Step 17: XentryServices.xml Modification (Conditional)
For versions prior to 12.2023, navigate to C:\Program Files (x86)\Mercedes-Benz\Xentry\XD_MB\bin. Cut the “XentryServices.xml” file to your desktop, open it with Notepad, locate and delete a specific line (line details would be provided in specific version instructions), and save. Then, move the modified “XentryServices.xml” file back to its original location. Repeat this process for the “XentryServices.xml” file located in C:\Program Files (x86)\Mercedes-Benz\Xentry\XD_DT\bin. For version 12.2023 and later, this step can be skipped.
Step 18: Backup Script and Shortcut Creation
Copy “Backup.bat” from the download package to C:\ and run it by double-clicking. This will generate a “lic_key_2.dat” file; ensure you do not delete this file. Copy “start_Xentry.bat” to C:\Program Files (x86)\Mercedes-Benz\Xentry\XD_MB. Right-click on “start_Xentry.bat”, send to “Desktop (create shortcut)”. Always use this new desktop shortcut “start_Xentry” to launch Mercedes-Benz Xentry, instead of the default icon.
Image alt text: Desktop shortcut creation for starting XENTRY software, ensuring the software is launched correctly after installation.
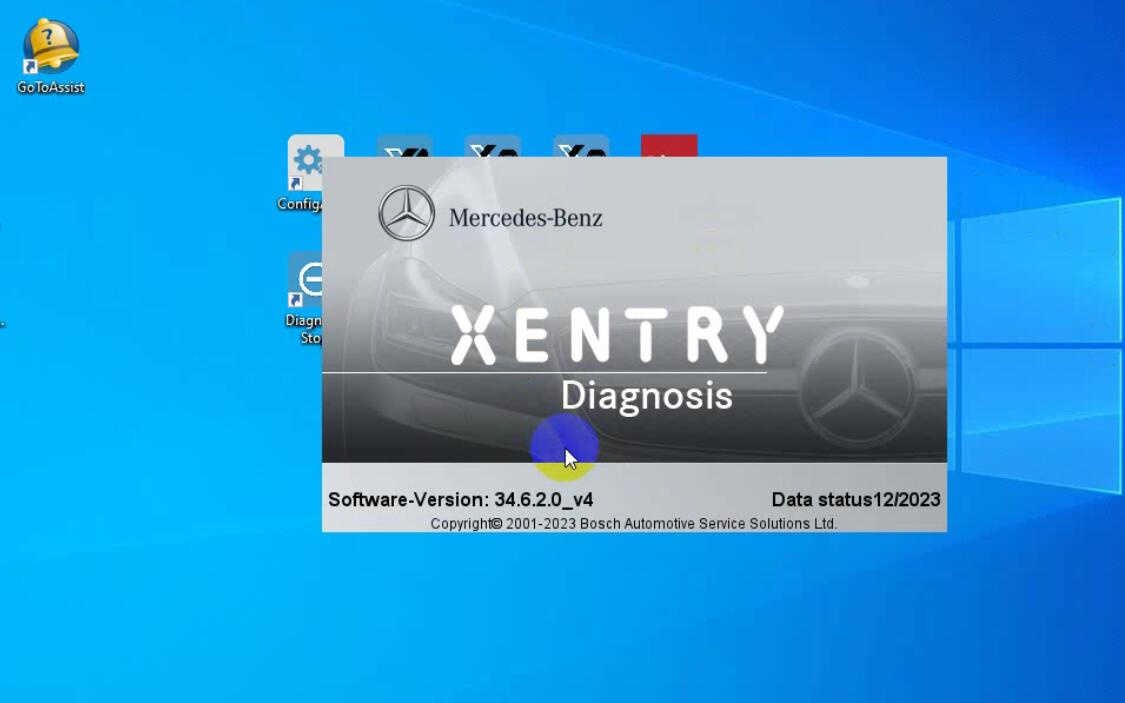
Your Xentry software installation and activation are now complete. To properly exit Xentry after use, double-click the “Diagnosis Stop” icon on your desktop.
Image alt text: “Diagnosis Stop” icon on the desktop, used to properly exit the XENTRY diagnostic software.
Image alt text: Desktop icons for accessing XENTRY software, including the ‘start_Xentry’ shortcut and ‘Diagnosis Stop’ exit icon.
Image alt text: Close-up of the ‘start_Xentry’ shortcut icon, used for launching the Mercedes-Benz XENTRY diagnostic software.
Image alt text: Detailed view of the ‘Diagnosis Stop’ icon, used to correctly terminate the XENTRY software application.
Troubleshooting Common Issues
SmartKey Invalid Error
If you encounter a “SmartKey invalid” error message, the most common cause is the “Secure boot” option in your BIOS settings not being disabled. Reboot your computer, enter BIOS settings, and ensure “Secure boot” is disabled. Save the changes and restart your system. This should resolve the SmartKey validation issue and allow you to use your Xentry software installation without problems.
By following these detailed steps, your Xentry software installation should be successful, providing you with a powerful diagnostic tool for Mercedes-Benz vehicles. For further assistance or to acquire genuine Xentry software and activation services, visit xentryportal.store.
