Mercedes-Benz vehicles are renowned for their sophisticated engineering and advanced technology. To properly diagnose and maintain these complex machines, specialized diagnostic software is essential. Xentry Diagnostic software stands out as the premier tool for Mercedes-Benz vehicles, offering in-depth access to vehicle systems. This guide will provide you with a comprehensive understanding of Xentry Diagnostic software, including where to find a reliable Xentry Diagnostic Software Download and how to ensure a smooth installation.
What is Xentry Diagnostic Software?
Mercedes Xentry Diagnostic software is a powerful suite designed for comprehensive vehicle diagnostics of Mercedes-Benz cars, vans, trucks, buses, and Unimogs. It’s the factory-level diagnostic system used by Mercedes-Benz dealerships and authorized service centers worldwide. Xentry goes far beyond basic OBD-II scanners, offering a wide array of functionalities, including:
- Reading and Clearing Diagnostic Trouble Codes (DTCs): Pinpointing and resolving issues across all vehicle systems.
- Actuations and Component Testing: Testing individual components to verify functionality and isolate faults.
- Live Data Streaming: Monitoring real-time parameters from sensors and control units for in-depth analysis.
- Adaptations and Control Unit Programming: Performing necessary adjustments and software updates to vehicle systems (may require specific access levels and hardware).
- Wiring Diagrams and Repair Information: Accessing detailed schematics and repair procedures (often integrated with WIS – Workshop Information System).
Essentially, Xentry Diagnostic software provides technicians with the tools necessary to perform everything from routine maintenance to complex troubleshooting on Mercedes-Benz vehicles up to model year 2024 and beyond, depending on the specific software version and access.
Key Xentry Software Versions and Hardware Compatibility
Navigating the world of Xentry software involves understanding different versions and their compatibility with diagnostic hardware. Here’s a breakdown of key aspects:
-
Xentry Openshell vs. Xentry PassThru:
- Xentry Openshell: This is the full-featured version, traditionally used with dedicated diagnostic multiplexers like SD Connect C4/C5/C6. It offers the most comprehensive diagnostic capabilities.
- Xentry PassThru: Designed for use with generic J2534 PassThru devices. While more versatile in terms of hardware, it may have slightly limited functionality compared to Openshell, particularly for older models or advanced programming functions.
-
Hardware Compatibility:
- SD Connect C4/C5/C6: These are Mercedes-Benz specific diagnostic multiplexers that offer optimal compatibility and performance with Xentry Openshell. SD Connect C4 DOIP is often recommended for newer vehicles supporting the Diagnostic over Internet Protocol (DoIP).
- J2534 PassThru Devices: A wider range of devices from brands like VAS5054, Autel, and Open Port can be used with Xentry PassThru. Compatibility should be verified with the device manufacturer and Xentry documentation.
-
Software Updates and Certification:
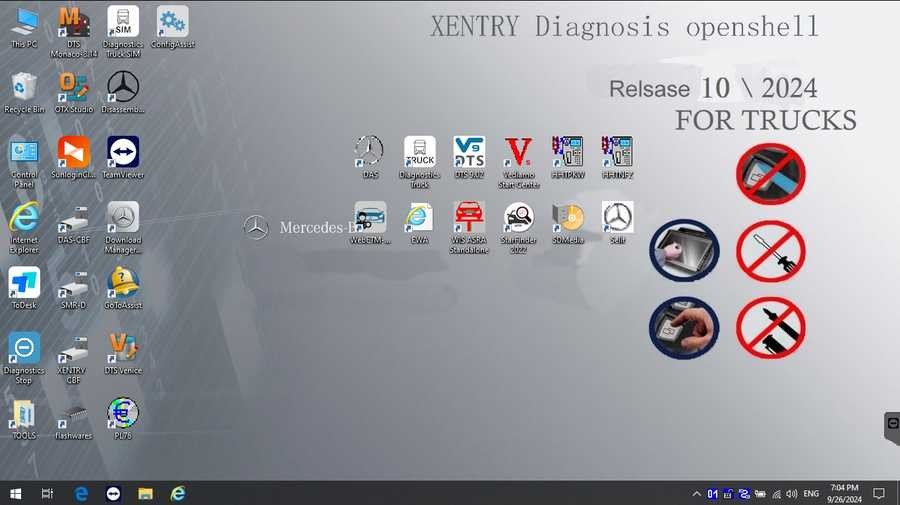
- Mercedes-Benz regularly updates Xentry software to support new models and enhance functionality. The latest versions, such as Xentry Openshell 10/2024 and Xentry Passthru 10/2024, provide coverage up to the end of 2024.
- For diagnosing newer Mercedes-Benz models (typically 2021 onwards) and performing certain advanced functions, an Xentry certificate may be required. This certificate verifies legitimate software use and unlocks access to protected functions, especially for newer vehicle generations. Certificates are typically obtained through authorized channels like Dealers Software or official Mercedes-Benz channels.
Understanding these distinctions is crucial when choosing your Xentry diagnostic software download and compatible hardware.
Preparing Your System for Xentry Diagnostic Software Download and Installation
Before you begin the Xentry diagnostic software download and installation process, ensure your computer system meets the necessary specifications. Proper preparation is critical for a successful and stable installation.
Minimum System Requirements:
- Operating System: Windows 10 64-bit is highly recommended for optimal performance and compatibility.
- Storage: Allocate sufficient disk space. You’ll need approximately 23GB of free space for the software files themselves and at least 110GB of free space for the complete installation process. Solid State Drives (SSDs) are strongly recommended for faster installation and software operation.
- Processor: An Intel Core i5 3rd generation processor (or equivalent) with a clock speed of 2.3 GHz or higher is the minimum. Faster processors will improve software responsiveness.
- RAM: 8GB of RAM is the minimum requirement, but 16GB or more is advisable for smoother multitasking and handling large datasets within the software.
- .NET Framework: Ensure that .NET Framework 4.8 is installed on your system. This is a crucial component for Xentry to function correctly.
Pre-Installation Steps:
-
Disable Antivirus and Firewall: Antivirus and firewall software can sometimes interfere with the installation process, flagging legitimate software components as potential threats. Temporarily disable them before starting the installation and re-enable them after completion.
- Windows Security: Navigate to “Windows Security” via the search bar, select “Virus & threat protection,” then “Manage settings,” and toggle “Real-time protection” off.
-
Enable VCRedist x86 x64: Before initiating Xentry OpenShell installation, verify that Visual C++ Redistributable (VCRedist) x86 and x64 versions are enabled on your system. These are essential for running various software components.
-
Check Disk Space: Double-check that you have sufficient free disk space on your chosen installation drive, meeting or exceeding the recommended 110GB.
-
Verify .NET Framework 4.8: Confirm that .NET Framework 4.8 is installed. If not, download and install it from the official Microsoft website before proceeding.
-
Enable MSMQ (Optional): In some Windows versions, enabling Microsoft Message Queuing Server (MSMQ) feature might be necessary for certain Xentry functionalities. Check your specific Xentry version’s documentation for MSMQ requirements.
Step-by-Step Xentry Diagnostic Software Installation Guide
Once your system is prepared, follow these steps for a successful Xentry Diagnostic software installation:
-
Run the Installer: Locate the downloaded Xentry software folder. Typically, you’ll find an executable file (e.g., “XDOS” or “Setup.exe”). Run this file as administrator. Right-click on the file and select “Run as administrator.”
-
Initiate Installation: Within the installer, you may need to “Mount” an ISO image or simply proceed with the setup. Follow the on-screen prompts carefully. Select your preferred language when prompted.
-
Reboot Your Computer: After the initial installation phase, the system will likely prompt you to reboot. Allow the reboot to proceed. This is a necessary step for the installation to finalize.
-
Disable Antivirus Again (Post-Reboot): After restarting, immediately check if your antivirus software has re-enabled itself. If so, disable it again before proceeding with software activation and usage.
-
Disable Background PDF Processes (Optional): In some cases, Xentry might run PDF-related processes in the background. To optimize system resources, you can disable these via Task Manager. Access Task Manager by right-clicking on the Windows taskbar.
-
Software Activation (Cracking OpenShell): This step is specific to offline or “cracked” versions of Xentry OpenShell. Navigate to the designated “CLO” drive or folder containing crack files. Follow the instructions provided with your software download to apply the crack, which typically involves copying or replacing specific files to bypass license checks. Note: Using cracked software may have legal and security risks. Consider legitimate software options for business use.
-
Activation Key Input: Launch the Xentry software. It may prompt you for an Activation Key or ID. Use the provided ID (from your software source) to generate an Activation Key using a key generator tool (often included with the software). Enter the generated Activation Key into Xentry.
-
Save Activation Key: Securely save your Activation Key for future reference or re-installations.
-
Modify LAN ID (If Required): In some configurations or for specific licenses, you might need to modify the LAN ID of your system. Consult your software documentation for instructions if this step is necessary.
-
Verify and Use Xentry: After activation, thoroughly test the Xentry software. Connect your diagnostic interface to your computer and a Mercedes-Benz vehicle. Run diagnostic sessions, read fault codes, and explore the software functionalities to ensure everything is working correctly.
Troubleshooting Common Xentry Installation Issues
Even with careful preparation, you might encounter issues during the Xentry Diagnostic software installation. Here are some common problems and troubleshooting tips:
- Incorrect Activation Key: Double-check the Activation Key you entered. Ensure it matches the ID and software version you are using. If you obtained the key from a third-party source, verify its validity.
- Antivirus/Firewall Interference: Confirm that your antivirus and firewall were completely disabled throughout the entire installation process, including reboots and software activation. Sometimes, simply disabling them through the user interface isn’t enough; you might need to temporarily uninstall them or configure exceptions.
- Insufficient Disk Space: Verify that you have enough free disk space on the installation drive. If necessary, free up space by deleting unnecessary files or programs.
- Previous Xentry Version Conflicts: If you had a previous version of Xentry installed, ensure it was completely and correctly uninstalled before attempting to install a new version. Use a dedicated uninstaller tool or follow the software’s uninstallation instructions precisely.
- System Incompatibility: Re-check the system requirements. Ensure your computer meets or exceeds the minimum specifications, especially regarding the operating system, processor, RAM, and .NET Framework.
- Installation Errors During Specific Steps: Note down the exact error message or point at which the installation fails. Search online forums or contact technical support (if available from your software source) for solutions related to that specific error.
If you’ve exhausted troubleshooting steps and are still facing difficulties, consider seeking professional assistance. Dealers Software or reputable Mercedes-Benz diagnostic specialists can provide expert support for Xentry installation and configuration, potentially saving you significant time and frustration.
For more information about Mercedes-Benz diagnostic tools and related equipment, please visit https://www.obd2tool.com.