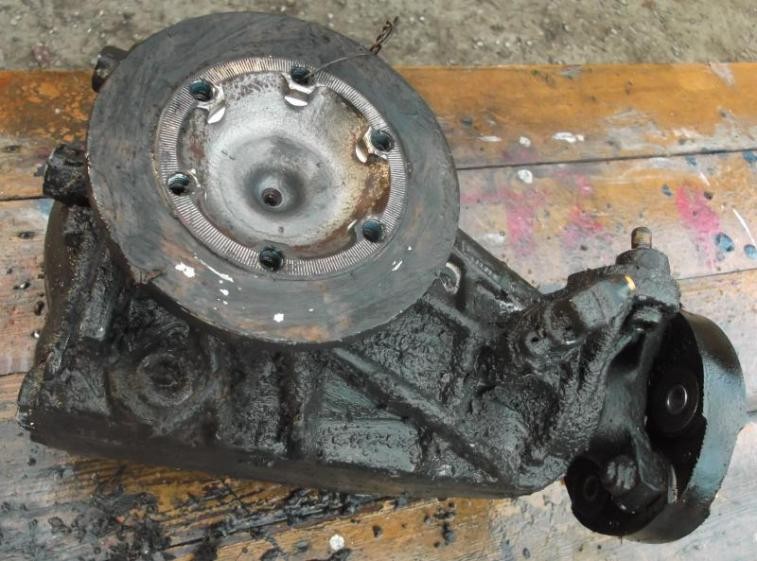
For enthusiasts of the classic W201 Mercedes, also known as the 190E, a common concern can be noise emanating from the differential, especially at higher speeds. An annoying whine during acceleration or deceleration can detract from the otherwise refined driving experience of these iconic vehicles. If you’re experiencing this issue, a differential refresh might be the solution. This guide outlines a DIY approach to refreshing your W201 differential, drawing from a hands-on experience to help you tackle this task effectively.
Identifying the Issue: Noisy Differential
A telltale sign of a differential in need of attention is a noticeable whine, often described as an overrun whine. This sound becomes particularly evident at motorway speeds and can be present both when accelerating and decelerating. Ignoring this noise can lead to further wear and potential damage, so addressing it promptly is advisable for maintaining the longevity and quiet operation of your W201 Mercedes.
The DIY Refresh Approach
Refreshing a W201 differential can seem daunting, but with a methodical approach and the right tools, it’s a task achievable for the home mechanic. This process focuses on disassembly, inspection, cleaning, and reassembly, potentially replacing worn components like bearings if necessary. While specialized tools are often recommended in official factory service manuals (FSM), this guide emphasizes using common tools to make the refresh more accessible.
Initial Inspection and Dirty Discovery
Before diving into the refresh, a preliminary inspection of the differential is crucial. In the case highlighted here, a used differential acquired for refurbishment turned out to be in a surprisingly poor state internally. Despite being sold as “quiet,” it was evident upon initial inspection that the differential had likely been filled with engine oil instead of the correct hypoid gear oil. This improper lubrication likely contributed to wear and noise issues.
This initial discovery underscores the importance of thorough inspection, even when dealing with components purported to be in good working order. Starting with a clean exterior allows for a better assessment of the differential’s condition and prevents debris from entering during disassembly.
Draining and Opening the Differential
The next step involves draining the old fluid and removing the rear cover to access the internal components. In this instance, draining the fluid revealed the extent of the contamination, further confirming the suspicion of incorrect lubricant usage. Removing the cover exposes the differential gears and allows for inspection of the internal wear and condition of the components.
Tackling the Pesky C-Clips
A common challenge in differential work, especially on Mercedes models, is the removal of C-clips that retain the axial shafts. While W201 models are more forgiving than some others when changing axles, C-clip removal is necessary for a complete differential refresh. Unlike some W123 differentials where long-nosed pliers might suffice, W201 C-clips can be more stubborn. A resourceful technique involves using a thin Allen key mounted in mole grips (locking pliers) to effectively yank the C-clips out.
This method demonstrates how resourceful use of common tools can overcome challenges encountered during the differential refresh process, even without specialized Mercedes-Benz tools.
Conclusion: Towards a Quieter Ride
Refreshing the differential on your W201 Mercedes is a worthwhile endeavor to address noise issues and ensure the longevity of this critical component. By following a DIY approach, carefully inspecting components, and employing resourceful techniques for challenges like C-clip removal, you can successfully refresh your W201 differential and look forward to a quieter, more enjoyable driving experience in your classic Mercedes. Remember to always consult your W201 service manual for specific torque specifications and fluid recommendations during reassembly.

