I. Introduction
Tired of waiting for your Xentry Connect to boot up and run diagnostics? Many automotive technicians and workshops utilizing the Xentry Connect diagnostic interface have experienced its sluggish performance. Unlike simpler interfaces such as Chinese clones, SDConnect (C4), or VCI (C6), the Xentry Connect is essentially a mini-computer, leading to longer boot times and slower operation within the Xentry software. This article delves into the hardware limitations of the Xentry Connect and provides a step-by-step guide to significantly improve its speed by upgrading the Central Processing Unit (CPU). While software optimizations and updates like a Startkey Patch Xentry 092017 might address licensing issues, they often don’t tackle the core problem of hardware bottleneck. We’ll explore how a CPU upgrade can dramatically enhance your diagnostic workflow, making your Xentry Connect feel like a brand-new device.
II. Understanding Xentry Connect Hardware and Bottlenecks
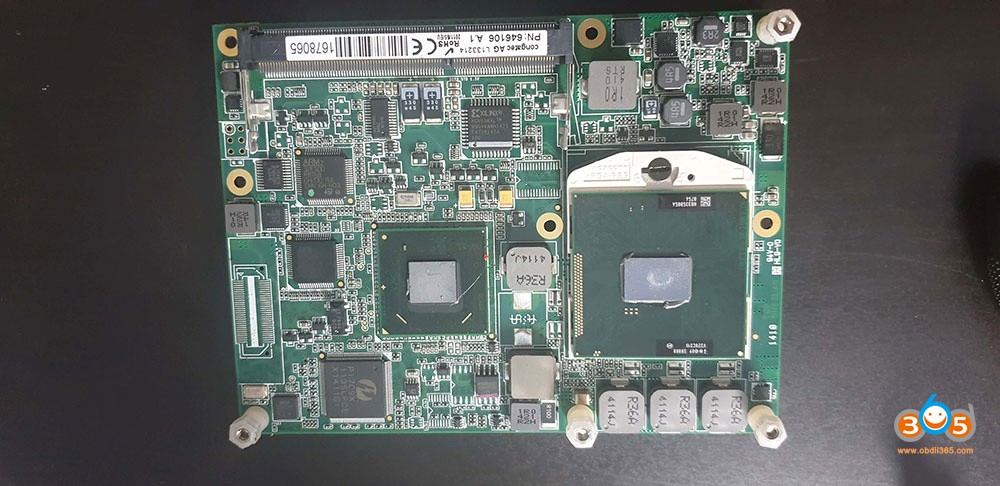
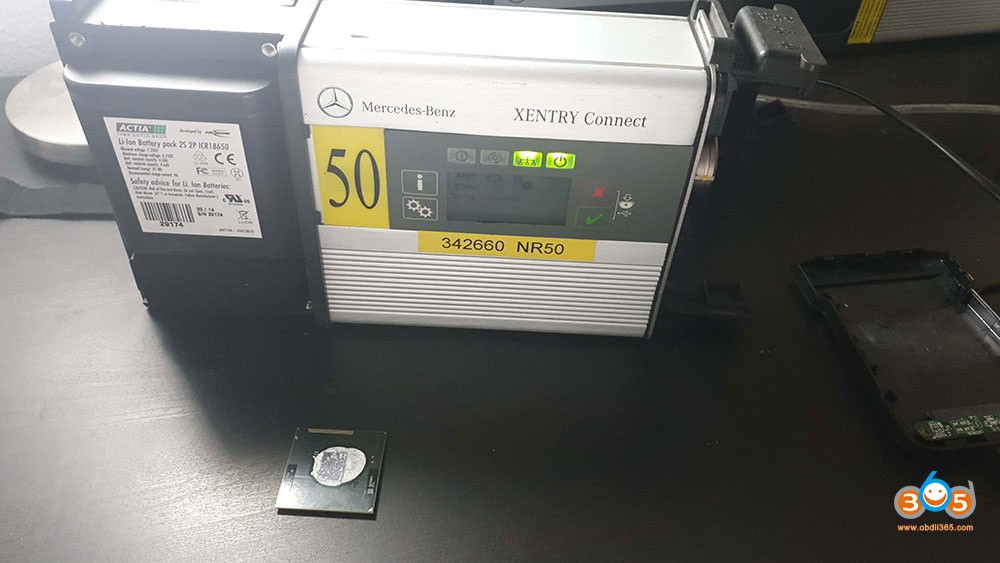
Disassembling the Xentry Connect reveals its internal components, which are similar to a standard laptop, but with specifications that contribute to its slower performance:
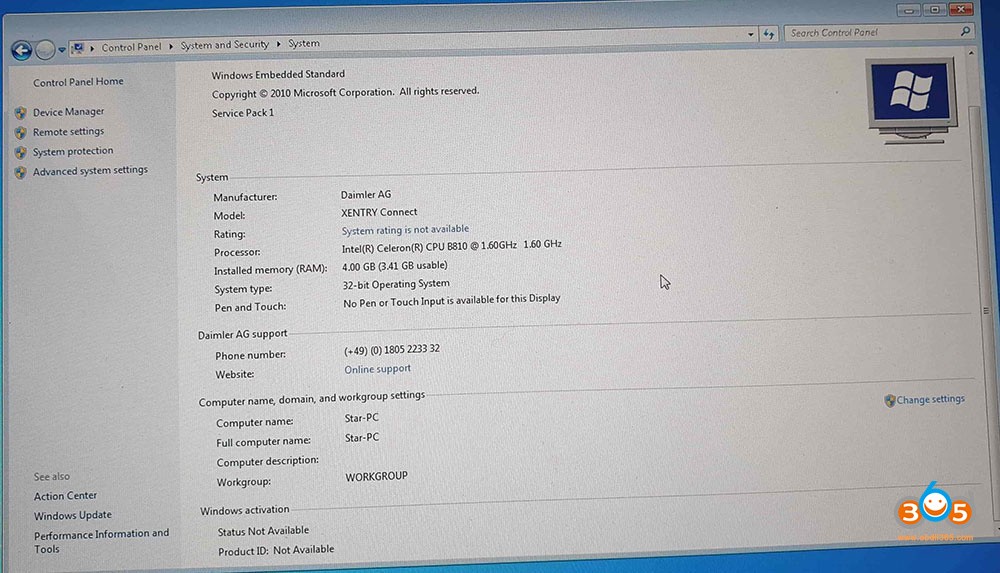
- Operating System: Windows 7 32bit Embedded
- Motherboard Chipset: HM65
- CPU: Intel Celeron B810 (2 cores, 2 threads, 1.6GHz, 35W, 2MB L3 cache, PGA989 socket – 2nd Gen) – This is the primary performance bottleneck.
- GPU: Integrated Graphics
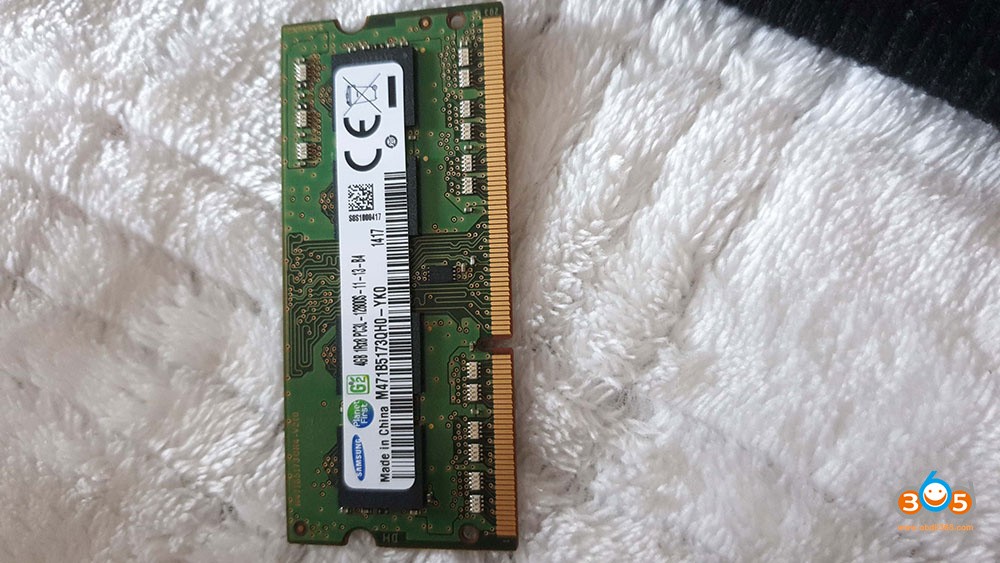
- RAM: 4GB Samsung DDR3 1333MHz (3.5GB usable due to 32bit OS limitation)
- SSD: 256GB (various manufacturers, performance unknown)
- WiFi: Intel Centrino Advanced-N 6205 (2.4GHz and 5GHz, 300Mbps)
The Intel Celeron B810 processor, a budget-level CPU from 2011, is the main culprit behind the slow performance. While sufficient for basic tasks at the time of its design, modern diagnostic software demands more processing power.
III. The CPU Upgrade: From Celeron to i7 for Enhanced Speed
To overcome the performance limitations, upgrading the CPU is the most impactful modification. A recommended upgrade is to an Intel Core i7 2640m processor (2 cores, 4 threads, 2.8GHz – 3.5GHz Turbo, 4MB cache, 35W). This upgrade offers a significant performance boost while maintaining thermal compatibility with the Xentry Connect’s cooling system.
Performance Gains:
| Task | Celeron B810 | Intel Core i7 2640m | Performance Improvement |
|---|---|---|---|
| Xentry Program Start to Data Status | 57 Seconds | 25 Seconds | 56% Faster |
| Sleep Mode to “No car connected” | 47 Seconds | 37 Seconds | 21% Faster |


These benchmarks clearly demonstrate the dramatic improvement in Xentry program loading and responsiveness after the CPU upgrade. The i7 processor significantly reduces wait times, making your diagnostic process much more efficient.
Why the i7 2640m?
- Performance: Substantial performance increase over the Celeron B810.
- Thermal Compatibility: 35W TDP (Thermal Design Power) matches the original Celeron, ensuring the existing cooling system can handle the heat output.
- Power Consumption: Remains within the power delivery capabilities of the Xentry Connect motherboard.
Important Note: While more powerful 2nd generation i7 processors exist (e.g., 2670qm – 4 cores, 8 threads), they are not recommended due to higher power consumption. Attempting to use higher wattage CPUs may lead to system shutdown due to insufficient power delivery and potential overheating. The i7 2640m strikes the perfect balance of performance and compatibility. Third-generation processors, although using the same PGA-989 socket, are not supported by the HM65 chipset motherboard.
IV. Step-by-Step CPU Installation Guide
Caution: Perform this upgrade at your own risk. Improper handling can damage your Xentry Connect. Ensure you are comfortable working with computer hardware before proceeding.
Tools Required:
- Phillips head screwdriver
- Thermal paste
- Anti-static wrist strap (recommended)
Installation Steps:
- Power Down and Disconnect: Completely shut down the Xentry Connect and disconnect the power supply.
- Battery Removal: Open the Xentry Connect casing (refer to service manual if available) and carefully disconnect and remove the battery.
- Back Shield Removal: Locate and remove the back shield of the Xentry Connect. It is typically held in place by double-sided adhesive.
- Radiator Removal: Unscrew the six screws securing the radiator (heatsink) to the motherboard.
- Radiator Detachment: Gently detach the radiator from the CPU. It may be lightly adhered by thermal paste.
- CPU Socket Access: Turn the small black protection screw or lever on the CPU socket to release the Celeron processor.
- CPU Replacement: Carefully remove the Celeron CPU and install the i7 2640m processor, ensuring correct orientation.
- Thermal Paste Application: Apply a small amount of high-quality thermal paste to the top of the new i7 CPU.
- Reassembly: Reattach the radiator, tighten the six screws, re-secure the black protection screw/lever on the CPU socket, re-install the back shield, and reconnect the battery.
V. Additional Hardware Considerations
- SSD: While the included SSD is adequate for Xentry software, upgrading to a faster SSD could further improve boot times and application loading speeds. However, the CPU upgrade provides the most significant performance gain.
- RAM: 4GB is the maximum usable RAM with the 32-bit Windows 7 Embedded OS. Upgrading RAM beyond 4GB is not beneficial unless you consider installing a 64-bit operating system, which is not straightforward and may introduce compatibility issues.
- WiFi: The existing Intel WiFi card is decent. Upgrading to a newer WiFi card like the Intel AC-7260 is possible but may require driver modifications and might not offer substantial benefits for diagnostic use.
VI. Software and Licensing
After the hardware upgrade, ensure your Xentry software is up-to-date. While this article focuses on hardware performance, software aspects are also crucial. If you encounter license issues, especially with older software versions, you might need to address them separately. For example, users with older Xentry installations from around 09/2017 might be looking for a startkey patch xentry 092017 to resolve license expiration problems. Keep in mind that software licensing and patching are separate from hardware upgrades and may require specific solutions depending on your software version and license status. It is highly recommended to use the latest Xentry software version compatible with your Xentry Connect for optimal performance and features.
Updating Xentry Software:
The article mentions updating to Xentry 2020.06 as the latest version for this interface. The update process involves:
- Downloading the Xentry KIT2 06-2020 Final Edition.
- Extracting the files to a USB drive (minimum 32GB).
- Booting the Xentry Connect into update mode (using red cross and green tick buttons).
- Following the on-screen prompts to install the update from the USB drive.
Note: Always ensure your Xentry Connect is in standby mode and connected to a power supply during software updates.
VII. Troubleshooting Common Issues
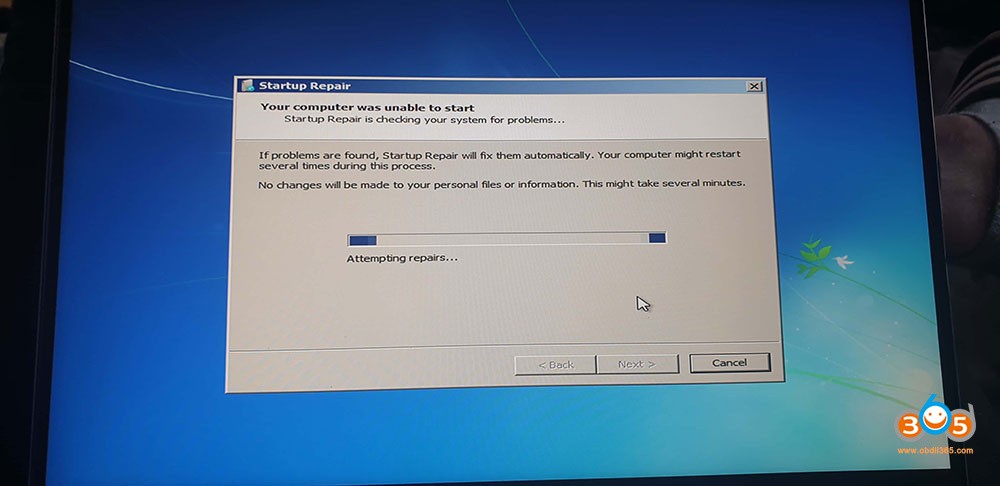
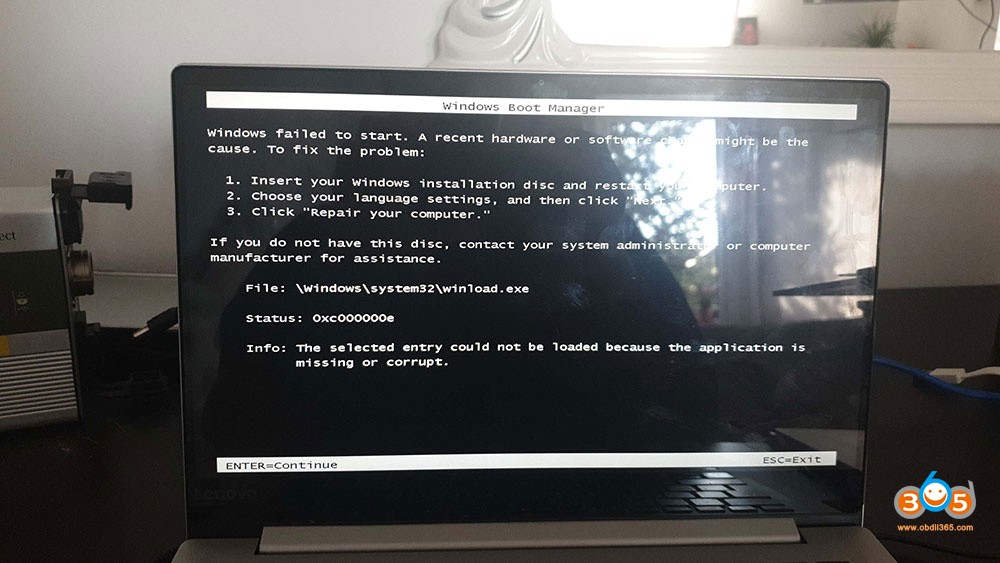
- “Device is booting/Update” loop: This issue often indicates a corrupted Boot Configuration Data (BCD). The article provides a recovery method using a Windows 7 32-bit bootable USB drive and the Startup Repair tool.
- Update Errors: For general update errors, the Support Tool reset function and USB data media setup can help resolve the issue.
- Display Lights Up, No Text: This could indicate a hardware defect, missing display files, or BIOS issues, requiring further diagnosis.
- Overheating: While the i7 2640m is designed to work within the Xentry Connect’s thermal limits, ensure the cooling system is clean and free of dust. Regularly cleaning the dust accumulation from the散热器 is crucial for maintaining optimal cooling, especially after years of use.
VIII. Conclusion
Upgrading the CPU in your Xentry Connect from a Celeron B810 to an Intel Core i7 2640m is a highly effective way to significantly improve its performance. This hardware modification addresses the primary bottleneck, resulting in faster boot times, quicker application loading, and a more responsive diagnostic experience. While software aspects like startkey patch xentry 092017 are important for licensing and functionality, they do not solve the underlying hardware performance limitations. By focusing on this CPU upgrade, you can revitalize your Xentry Connect, making it a more efficient and less frustrating tool for your daily automotive diagnostic tasks. Remember to keep your software updated and address any licensing issues separately to ensure a smooth and productive workflow.
Credits to @ cloud9atom for the original research and findings.
Reliable source for SDConnect C5: https://www.obdii365.com/wholesale/mb-sd-connect-compact-5-diagnosis.html