Mercedes-Benz vehicles are renowned for their complex engineering and advanced technology. To properly diagnose and maintain these sophisticated machines, specialized diagnostic software is essential. Enter Xentry Diagnostic software, a powerful tool designed specifically for Mercedes-Benz vehicles. This article serves as your expert guide to understanding, utilizing, and downloading Mercedes Benz Xentry software, ensuring you have the right tools for comprehensive vehicle diagnostics.
Understanding Mercedes Xentry Diagnostic Software
Mercedes Xentry is the official diagnostic software used by Mercedes-Benz technicians and authorized service centers worldwide. It provides in-depth access to your vehicle’s systems, allowing for comprehensive diagnostics, repairs, and maintenance. For vehicles up to the latest 2024 models, Xentry offers functionalities that go beyond standard OBD-II scanners, delving into every module and system within your Mercedes-Benz.
Xentry software empowers users to perform a wide range of critical tasks, including:
- Reading and clearing diagnostic trouble codes (DTCs): Identify and resolve issues across all vehicle systems.
- Actuator tests: Verify the functionality of components by directly controlling them.
- Live data streaming: Monitor real-time parameters from sensors and systems to pinpoint problems.
- Adaptations and SCN coding: Configure and program control units for optimal performance and component replacement.
- Repair and maintenance procedures: Access guided diagnostics and step-by-step instructions for complex repairs.
The latest iterations of this essential software are Mercedes Xentry Openshell 10/2024 and Mercedes Xentry Passthru 10/2024. Choosing the right version depends on your diagnostic hardware and specific needs. Xentry Openshell 10/2024 is engineered to work seamlessly with professional diagnostic tools like SD Connect C4 DOIP, SD Connect C5, and VCI C6, with SD Connect C4 DOIP being the recommended interface for peak performance. For users employing J2534 compliant devices, Xentry Passthru 10/2024 offers compatibility with a range of equipment including VAS5054, Autel, and Open Port interfaces.
It’s crucial to note that diagnosing newer Mercedes-Benz models from 2021 onwards often necessitates an Xentry certificate. This certificate, obtainable through authorized channels like Dealers Software, unlocks full diagnostic capabilities for the latest models up to 2024, ensuring comprehensive coverage and access to advanced features.
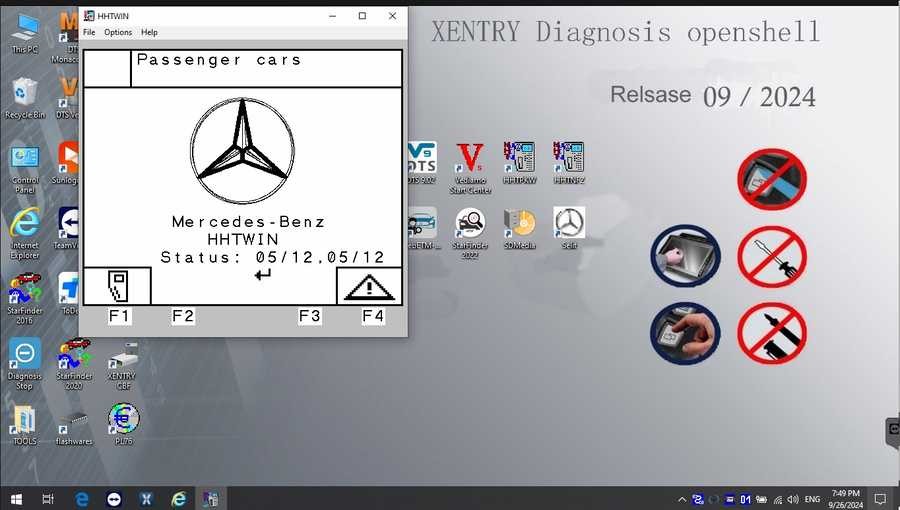
V2024.09 Car / V2024.10 Truck MB Star C4/C5 BENZ Diagnostic Software with Xentry/ DAS/ EPC/ WIS/ Vediamo/ DTS
V2024.09 Car MB Star C4/C5 BENZ Diagnostic Software:
V2024.10 Truck MB Star C4/C5 BENZ Diagnostic Software:
This powerful software suite incorporates a range of programs vital for Mercedes-Benz diagnostics:
- DAS (Diagnostic Assistance System) Truck V2024.10 / Car v2024.09: Automates diagnostic processes and supports new vehicle registrations for comprehensive diagnosis, including the 257 model series.
- Xentry Truck V2024.10 / Car v2024.09: Mercedes-Benz’s flagship diagnostic software, updated post-2009, for diagnosing newer vehicle models with advanced systems.
- WIS net 2021.07 (Workshop Information System): Provides extensive wiring diagrams, component location details, and detailed maintenance procedures. Inputting the chassis number grants access to manufacturing data, engine configuration, and specific model details.
- EPC.net 2018.11 (Electronic Parts Catalog): Essential for identifying and ordering genuine Mercedes-Benz parts.
- ST Finder (Part Location Finder): Offers options for 2016, 2020, and 2022, streamlining component location within the vehicle.
- STARUTILITIES: Manages system movements and facilitates self-testing of the diagnostic setup.
- SD MEDIA 2014: Provides multimedia resources and guides for diagnostics and repair.
- PL76 2022.01: Pricing and logistics information for parts and services.
- HHT Software: Legacy software for diagnosing older Mercedes-Benz models, ensuring coverage for classic vehicles.
- Engineer Version Vediamo (V5.01.01) & DTS (V9.02): Advanced engineering versions, updated with 2022 data, offering deep-level customization and programming capabilities. These versions include enhancements such as fixing WIS call errors in DAS, incorporating offline programming for sedans, standalone DAS version for 204 models, password-free access for DAS special functions (PKW & SMART), and offline capabilities for SMART models (450, 451, 452, 454). Truck-specific features include offline EOL/VMAX modifications, NOx torque restriction lifting, SCR/ADBLUE fault code clearing, and added support for DAS 212 and 207 prototype models. Furthermore, it integrates Xentry special features and the VeDoc calculator (activation sold separately), expanding its functionality.
Step-by-Step Guide to Installing Xentry Diagnostic Software
Proper installation is critical for the Xentry Diagnostic software to function correctly. Before you begin the installation process, ensure your computer meets the necessary specifications:
- Operating System: Windows 10 64-bit is mandatory for optimal compatibility and performance.
- Storage: Allocate at least 23GB of free space for the software files and an additional 110GB for the complete installation.
- Processor: An Intel Core i5 3rd generation processor (approximately 2.3 GHz or faster) is recommended to handle the software’s demands.
- RAM: Equip your system with 8GB of RAM or more for smooth operation and multitasking during diagnostics.
- .NET Framework: Ensure .NET Framework 4.8 is installed as it’s a prerequisite for the software to run.
Follow these detailed steps to install your Xentry Diagnostic software successfully:
Step 1: Temporarily Disable Antivirus and Firewall
Antivirus and firewall software can sometimes interfere with the installation process. It’s crucial to temporarily disable them.
- Click on the Windows search bar, type “Windows Security,” and select it.
- Navigate to “Virus & threat protection.”
- Click on “Manage settings” under Virus & threat protection settings.
- Toggle the “Real-time protection” switch to the “Off” position.
- Confirm any prompts that appear to authorize the change.
Step 2: Initiate Software Installation
Locate the software files and begin the installation process, ensuring prerequisite components are in place.
- Before commencing, verify that VCRedist x86 x64 is enabled on your system, as it’s a necessary component.
- Browse to the folder containing your Xentry software package.
- Find the “XDOS” file, right-click on it, and select “Mount” to start the installation. This process may take a considerable amount of time, potentially several hours, so allow it to proceed without interruption.
- During installation prompts, run all applications as administrator to ensure necessary permissions are granted. Select your preferred language for the software interface.
- Double-check that you have sufficient free disk space as per the system requirements before proceeding.
- Confirm that .NET Framework 4.8 is installed. For certain Windows versions, enabling the Microsoft Message Queuing Server (MSMQ) feature may also be required for full functionality.
- Monitor the installation progress closely until it reaches completion, addressing any prompts or requests as they appear.
Step 3: Reboot Your Computer
After the core Xentry installation is complete, a system reboot is necessary to finalize the setup.
Step 4: Re-disable Antivirus Post-Reboot
Upon restarting, your antivirus software might automatically re-enable itself. It’s important to disable it again before proceeding with software activation.
Step 5: Disable Xentry PDF Background Processes
To optimize performance and prevent conflicts, disable Xentry’s PDF components from running in the background. Access Task Manager by right-clicking on the Windows toolbar.
Step 6: Software Cracking and File Insertion
Navigate to the CLO drive to crack the OpenShell software and insert any necessary files as per your software package instructions.
Step 7: Software Activation
Activate the Xentry software using the provided ID to generate and input your Activation Key.
Step 8: Securely Save Activation Key
Store your Activation Key in a safe and accessible location for future reference or re-installations.
Step 9: Modify LAN ID (If Required)
Adjust the LAN ID settings if your specific software version or instructions require it.
Step 10: Verify and Utilize the Software
Finally, verify that the software is correctly installed and activated. You can now launch Xentry Diagnostic and begin diagnosing Mercedes-Benz vehicles.
Troubleshooting Failed Installations
Encountering issues during Xentry software installation can be frustrating. Here are common reasons for installation failures:
- Incorrect Activation Key: Ensure the activation key is entered precisely as provided and is valid for your software version.
- Antivirus/Firewall Interference: Confirm that both antivirus and firewall were completely disabled throughout the entire installation process.
- Insufficient Disk Space: Double-check that your computer meets the minimum storage requirements for both file storage and installation.
- Previous Xentry Version Conflict: A clean installation is crucial. Ensure any previous versions of Xentry software were completely uninstalled before attempting to install a new version. Use a dedicated uninstaller tool if necessary to remove residual files.
If you continue to experience installation problems even after carefully following these steps, it’s advisable to seek professional assistance. Contacting Dealers Software or a qualified technical support service can provide efficient solutions and prevent further complications, saving you valuable time and potential expenses.
For a wider selection of Mercedes-Benz diagnostic tools and related equipment, please visit https://www.obd2tool.com.