Mercedes-Benz vehicles are renowned for their sophisticated engineering and advanced technology. To properly diagnose and maintain these complex machines, workshops and technicians rely on powerful diagnostic software. Among the most essential tools is the DAS Xentry software, a comprehensive system designed to delve deep into the intricacies of Mercedes-Benz vehicles. If you’re looking for a reliable Das Xentry Software Download and want to understand how to leverage this tool, you’ve come to the right place. This guide will walk you through everything you need to know about Xentry, ensuring you can effectively diagnose and repair Mercedes-Benz vehicles up to the latest models.
Understanding Mercedes Xentry Diagnostic Software
Mercedes Xentry is the official diagnostic software suite for Mercedes-Benz, covering a wide range of models up to 2024. It’s an indispensable tool for automotive professionals, offering capabilities far beyond basic OBD-II scanners. Xentry allows users to perform in-depth diagnostics, including:
- Reading and Clearing Diagnostic Trouble Codes (DTCs): Identify and resolve issues by accessing error memory across all vehicle systems.
- Actuator Tests: Verify the functionality of components by directly controlling actuators to ensure they are operating correctly.
- Comprehensive System Diagnostics: Examine all electronic control units (ECUs) within the vehicle, from engine and transmission to braking and safety systems.
- Guided Fault Finding and Repair Plans: Xentry doesn’t just identify problems; it often provides step-by-step repair instructions and troubleshooting guides, streamlining the repair process.
However, navigating the world of Xentry software can be complex, especially with various versions and hardware compatibility considerations. Let’s break down some key points to ensure you are well-informed before you pursue a das xentry software download.
Key Considerations Before Your DAS Xentry Software Download
Before you jump into a das xentry software download, it’s crucial to understand the landscape of Xentry versions and compatibility. Here are essential points to consider:
-
Latest Software Versions: The most current versions are Mercedes Xentry Openshell 10/2024 and Mercedes Xentry Passthru 10/2024. Using the latest version ensures compatibility with the newest Mercedes-Benz models and access to the most up-to-date diagnostic data.
-
Hardware Compatibility: Xentry Openshell 10/2024 is designed to work with professional diagnostic connectors such as SD Connect C4 DOIP, SD Connect C5, and VCI C6. For optimal performance and reliability, the SD Connect C4 DOIP is often recommended.
-
PassThru for J2534 Devices: Xentry Passthru 10/2024 supports J2534 compliant diagnostic tools. This opens compatibility to a broader range of devices, including VAS5054, Autel, and Open Port. If you already own a J2534 device, Xentry Passthru might be a suitable option.
-
Xentry Certificate for Newer Models: For diagnosing Mercedes-Benz models from 2021 onwards, an Xentry certificate is generally required. This certificate provides the necessary authorization to access and diagnose the advanced systems in these newer vehicles. Certificates can typically be obtained through authorized channels like Dealers Software.
Understanding these points is crucial to ensure that your das xentry software download is not only successful but also compatible with your diagnostic hardware and the Mercedes-Benz vehicles you intend to service.
[Insert Image 1: V2024.09 Car MB Star C4/C5 BENZ Diagnostic Software]
[Insert Image 2: V2024.10 Truck MB Star C4/C5 BENZ Diagnostic Software]
Step-by-Step Guide: Installing Your DAS Xentry Software Download
Once you have your das xentry software download package, proper installation is key to avoid errors and ensure smooth operation. Here’s a detailed installation guide:
Pre-Installation System Requirements:
Before you begin, ensure your computer meets these minimum specifications:
- Operating System: Windows 10 64-bit is essential for compatibility.
- Storage: Allocate at least 23GB of free space for the software files and an additional 110GB for the installation process itself.
- Processor: An Intel Core i5 3rd generation processor (around 2.3 GHz or faster) is recommended for adequate performance.
- RAM: 8GB of RAM or more will ensure smooth operation.
- .NET Framework: Make sure .NET Framework 4.8 is installed and enabled on your system.
Installation Steps:
-
Disable Antivirus and Firewall: Temporarily disable your antivirus and firewall software. These security measures can sometimes interfere with the installation process and flag essential software components.
- Open “Windows Security” from the search bar.
- Navigate to “Virus & threat protection” and then “Manage settings.”
- Turn off “Real-time protection” and confirm any prompts.
[Insert Image 3: Disable Antivirus and Firewall – Windows Security settings]
-
Initiate Software Installation:
- Locate your das xentry software download folder.
- Before starting Xentry OpenShell installation, ensure “VCRedist x86 x64” is enabled on your system as a prerequisite.
- Go to the “XDOS” folder and select “Mount” to begin the installation. This process may take several hours, so allow it to run uninterrupted.
[Insert Image 4: Run Software from Designated Folder – Mounting XDOS]
-
Run as Administrator and Language Selection:
- Run all installation applications as administrator.
- Choose your preferred language during the installation prompts.
- Ensure sufficient disk space, verify .NET Framework 4.8 is installed, and consider enabling “Microsoft Message Queuing Server (MSMQ)” if your Windows version requires it.
- Monitor the installation closely until completion.
[Insert Image 5: Run as Administrator – Installation Options]
[Insert Image 6: Installation Progress]
-
Reboot Your Computer: After XENTRY installation completes, you will be prompted to reboot your computer.
[Insert Image 7: Reboot Required]
-
Re-disable Antivirus (If Necessary): After rebooting, check if your antivirus software has re-enabled itself. If so, disable it again temporarily as per step 1.
[Insert Image 8: Re-disable Antivirus after Reboot]
-
Disable Xentry PDF Background Processes: To optimize system resources, disable Xentry’s PDF background processes using Task Manager. Access Task Manager by right-clicking on the Windows toolbar.
-
Software Cracking and File Insertion: Navigate to the CLO drive to crack the OpenShell software and insert any necessary missing files as per your software provider’s instructions.
[Insert Image 9: Navigate to CLO Drive]
[Insert Image 10: Software Cracking Process]
[Insert Image 11: File Insertion Confirmation]
-
Software Activation: Activate the software using the provided ID to obtain your Activation Key.
[Insert Image 12: Software Activation Prompt]
-
Securely Save Activation Key: Store your Activation Key in a safe place for future reference.
-
Modify LAN ID (If Required): Adjust the LAN ID if necessary, according to your specific setup requirements.
-
Verification and Usage: Finally, verify the installation and begin using your Xentry Diagnostic Software.
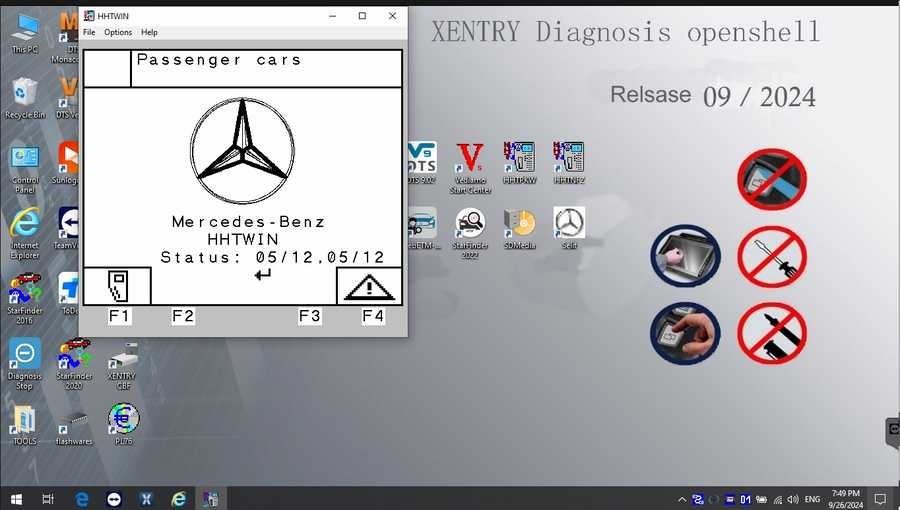
[Insert Image 13: Xentry Software Verified and Ready]
Troubleshooting Common DAS Xentry Software Download and Installation Issues
Even with careful installation, you might encounter issues. Here are common reasons for installation failures:
- Incorrect Activation Key: Ensure you are using the correct activation key provided with your software.
- Antivirus/Firewall Interference: Strictly ensure that both firewall and antivirus are completely disabled throughout the installation process.
- Insufficient Disk Space: Double-check that you have enough free disk space as per the system requirements.
- Previous Xentry Version Conflicts: If you had a previous version of Xentry, ensure it was completely and properly uninstalled before installing the new version. Residual files can cause conflicts.
If you continue to face difficulties after following these steps, consider reaching out to Dealers Software or your software provider for dedicated support. They can offer expert assistance to streamline the installation and minimize downtime.
For more information on Mercedes-Benz diagnostic tools and related equipment, visit https://www.obd2tool.com.