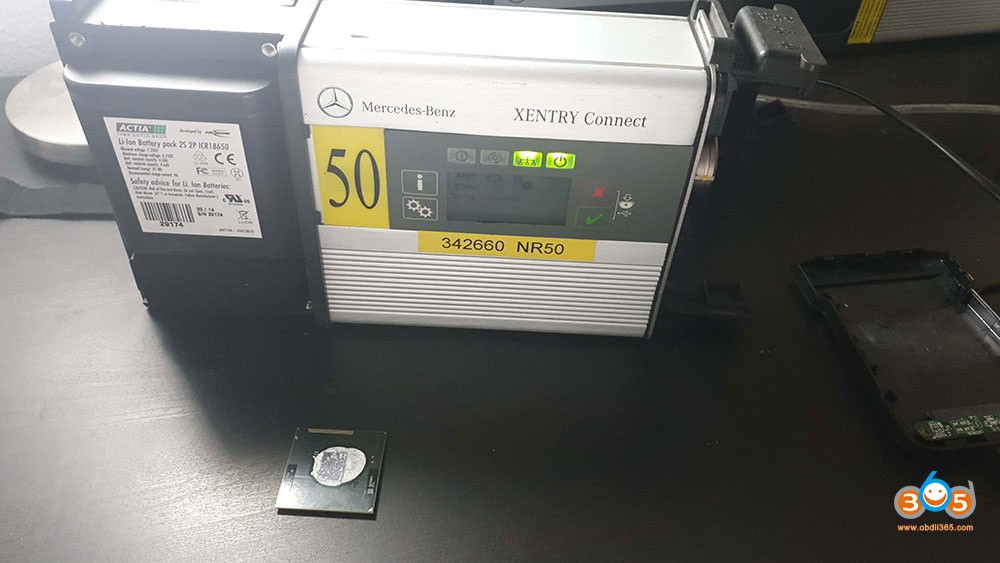
Are you experiencing sluggish performance with your Xentry Connect diagnostic tool? Many technicians find the original Xentry Connect to be slow, from boot-up to launching Xentry software. This is a stark contrast to faster interfaces like Chinese clones, SDConnect (C4), or VCI (C6), which are simpler interfaces compared to the computer-like nature of the Connect. Having disassembled the Xentry Connect, we’ve explored how to significantly improve its speed and bring it up to modern standards, focusing on hardware enhancements and the essential Xentry Kit 2 Update.
Understanding Xentry Connect’s Limitations
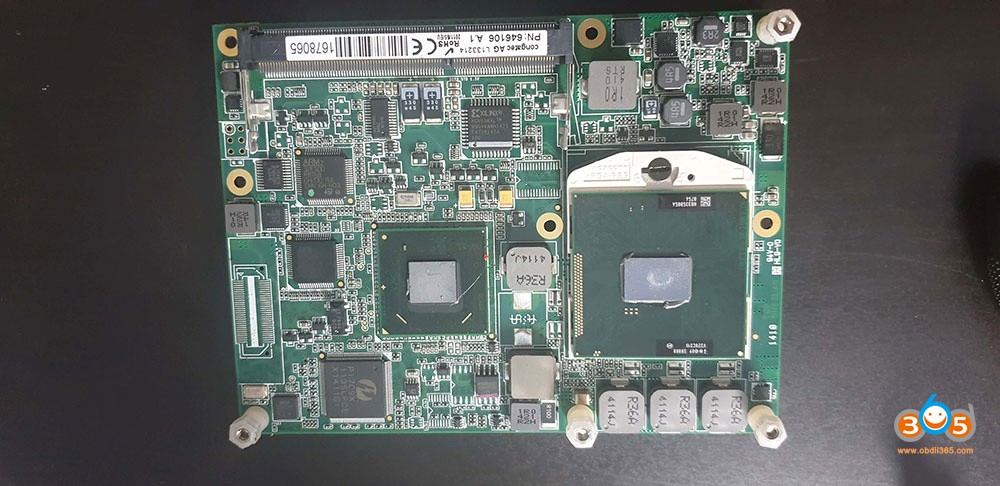
The Xentry Connect, while a powerful tool, operates on hardware that is now considered dated. Let’s break down its core components:
Hardware Components Breakdown
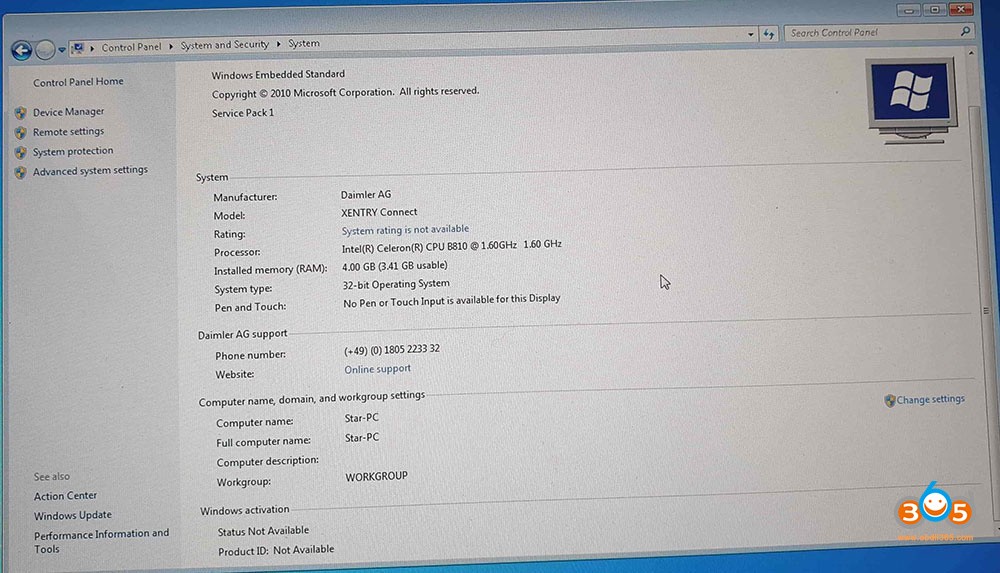
- OS: Windows 7 32bit Embedded
- Motherboard: HM65 Chipset
- CPU: Intel Celeron B810 (2 cores, 2 threads, 1.6Ghz, 35w, 2mb L3 cache, PGA989 – 2nd Gen) – This is a key bottleneck for performance.
- GPU: Integrated Graphics
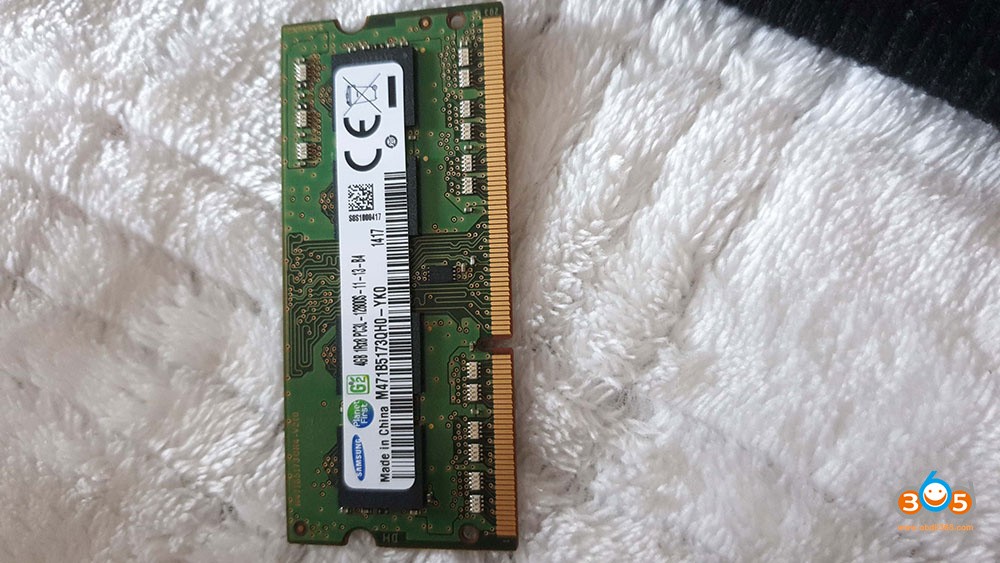
- RAM: 4Gb Samsung DDR3 1333Mhz (Usable ~3.5Gb due to 32bit OS)
- SSD: Xmore 256GB (various sizes reported depending on manufacturing date)
- WiFi: Intel Centrino Advanced-N 6205 (2.4Ghz and 5Ghz, 300mbps PCIe Half MiniCard)
This configuration, in testing since at least 2011 and appearing in devices from 2012 onwards, uses components that are over a decade old. The Celeron processor, in particular, is a significant limiting factor.
Boosting Performance: Hardware Upgrades
To address the sluggishness, upgrading key hardware components can yield impressive results.
CPU Upgrade Guide
The most impactful upgrade is replacing the CPU. We recommend the Intel Core i7 2640m (2 cores, 4 threads, 2.8Ghz – 3.5Ghz Turbo, 4Mb cache, 35w).
Why the i7 2640m? It’s the most powerful 2nd generation processor with a 35W TDP (Thermal Design Power). Maintaining the 35W TDP is crucial because the Xentry Connect’s cooling system (a small radiator and two fans) is designed for this power consumption. Higher wattage CPUs could lead to overheating. While 3rd generation processors share the same PGA-989 socket, they are not compatible with the HM65 chipset motherboard. Experimenting with a higher power CPU like the 2670qm (4 cores, 8 threads) resulted in system shutdown due to insufficient power delivery, not overheating. Therefore, sticking to a dual-core, quad-thread CPU with a 35W TDP is advisable.
Performance Increase:
| Metric | Celeron B810 | i7 2640m |
|---|---|---|
| Xentry program start to Data Status | 57 Seconds | 25 Seconds |
| Sleep mode to No car connected | 47 Seconds | 37 Seconds |


As you can see, the i7 2640m provides a significant speed boost, especially in Xentry program loading times.
Installation Steps:
- Safety First: Disconnect the battery.
- Access: Remove the back shield of the Xentry Connect (it’s held by double-sided adhesive).
- Radiator Removal: Unscrew the 6 radiator screws.
- CPU Access: Remove the radiator and turn the small black CPU protection lock.
- CPU Swap: Replace the Celeron CPU with the i7 2640m, applying new thermal paste.
- Reassembly: Reinstall all components in reverse order.
[](CPU Upgrade Preparation for Xentry Connect)
SSD Upgrade Considerations
While the stock SSD is sufficient in capacity for Xentry, Vediamo, WIS/EPC, and Monaco, its performance is unknown. Upgrading to a faster, more reputable SSD could offer marginal improvements, but the CPU upgrade provides the most substantial performance gain. Cloning the original SSD to a new one is recommended if you choose to upgrade.
RAM & WiFi Notes
- RAM: The 32-bit Windows 7 Embedded limits usable RAM to around 3.5GB, making a RAM upgrade beyond 4GB pointless unless you undertake a complex 64-bit OS installation.
- WiFi: While an Intel AC-7260 WiFi card upgrade is possible, it’s reportedly buggy and requires driver modifications. The stock Intel Centrino Advanced-N 6205 is adequate for most diagnostic tasks.
Software Enhancement: Xentry Kit 2 Update
Beyond hardware, ensuring your software is up-to-date is crucial. The xentry kit 2 update is essential for optimal performance and compatibility.
Updating Xentry Connect to the Latest Version
We highly recommend updating your Xentry Connect to the latest available version for this hardware, which is the 2020.06 release within Xentry Kit 2. Note that newer Xentry versions (Kit 3, Kit 4) are designed for newer hardware.
Update Procedure:
- Download Xentry Kit 2 06-2020 Final Edition: (Link provided in original article attachments).
- Prepare USB Drive: Extract the downloaded KIT2 06-2020 Final Edition folder to a minimum 32GB USB stick or external SSD/HDD.
- Standby Mode: Ensure the XENTRY Connect is in standby mode. Shut it down via the menu (gearwheels button) or through XENTRY Control.
- Connect Power & USB: Connect the power supply to the XENTRY Connect and insert the prepared USB drive into a USB port.
- Initiate Update Mode: Simultaneously press and hold the “red cross” and “green tick” buttons to start update mode.
- Confirm Update: When “Start update” appears on the display, confirm with the “green tick” button. The update process will begin, indicated on the display.
- Wait for Completion: The USB update takes approximately 100 minutes. The XENTRY Connect will display a message when finished.
- Finalize: Press the “gearwheels” button, or wait for the XENTRY Connect to automatically shut down after about 10 minutes.
[](Starting the Xentry Connect Update Process)
Configuring Xentry Control
After updating, configuration within Xentry Control is necessary.
- Start Interface & Connect: Power on the Xentry Connect and connect a LAN cable to both the interface and your laptop.
- Open Configuration: Launch Xentry Control and access the configuration section (usually in the top area).
- Step-by-Step Configuration: Follow the on-screen prompts to configure LAN, WiFi, and other settings as needed.
Xentry License Activation
If your Xentry Connect license has expired (common for units predating 2018/06 as dealerships shifted to Kit 3), you’ll need to reactivate it. You can check license status in StartKey Center or Xentry (if it shows “No Access authorization code”). License activation often requires a paid solution.
Troubleshooting Common Issues
Encountering problems? Here are solutions to common issues:
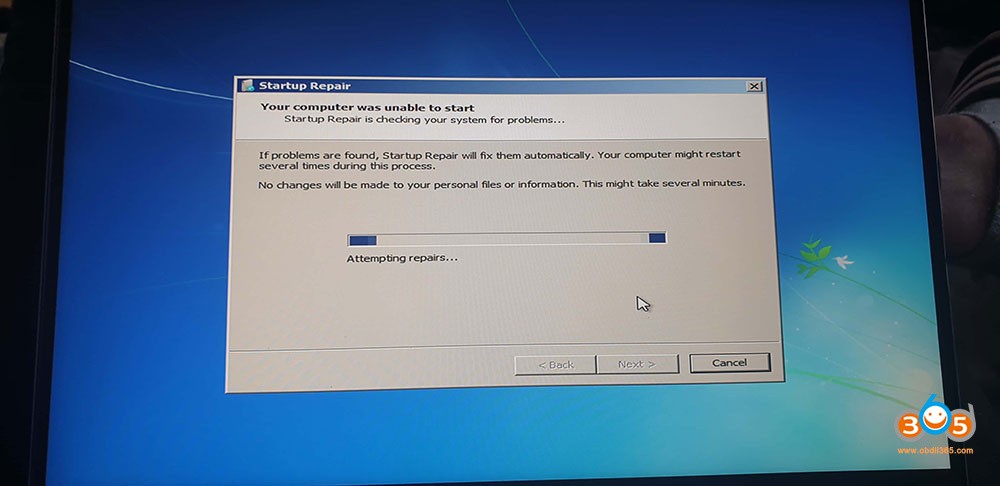
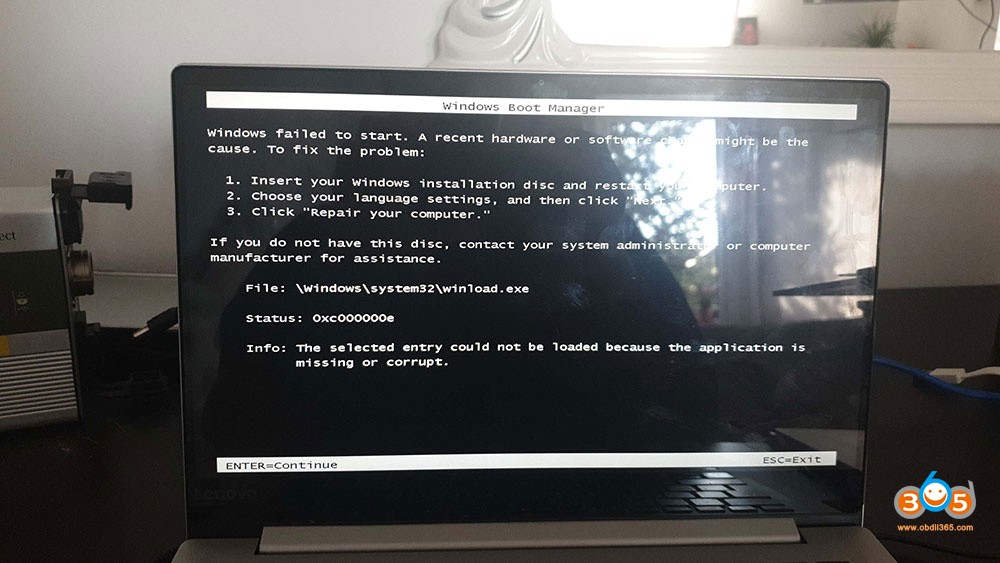
Booting/Update Problems (Device is booting/Update for a long time)
This often indicates BCD (Boot Configuration Data) corruption.
- Create Windows 7 Bootable USB: Make a normal (not embedded) Windows 7 32-bit bootable USB drive (minimum 4GB). For newer laptops with USB 3.0 issues (no mouse in setup), integrate USB 3.0 drivers into the Windows 7 ISO using NTLite.
- SSD Access: Remove the SSD from the Xentry Connect and connect it to a laptop (or use an older laptop).
- Startup Repair: Boot from the Windows 7 USB, select language, then “Repair my computer.” Choose “Startup Repair” and let it run.
- Reinstall SSD: Return the SSD to the Xentry Connect and secure it with at least one screw to prevent movement and future BCD corruption.
[](Xentry Connect Internal Components)
Update Errors & Resetting
For any update errors:
- Support Tool Reset: Open the Support Tool and navigate to the Reset section.
- USB Data Media Setup: Check “I have spoken to the Diagnosis UHD and would like to reset the Xentry Connect” and click “Setting up USB data media.”
- Prepare Reset USB: Select your USB stick. A very small (1.6KB) reset file will be created.
- Initiate Reset: Insert the USB stick into the Xentry Connect in sleep mode and press “Tick (Green)” and “X (Red)” buttons simultaneously.
- Complete Reset: Allow the reset process to complete (indicated as x/15 on screen) and then attempt the xentry kit 2 update again with the 2020/06 software.
[](Xentry Connect Motherboard Detail)
Display Issues (Only display lights up, no text)
This can stem from various hardware or software issues, including internal defects, missing display files, or BIOS problems. Further diagnosis may be required.
Overheating & Dust
If you are hesitant about CPU upgrades, simply removing the back cover and cleaning accumulated dust can significantly improve cooling and potentially performance.
[](Dust Accumulation Inside Xentry Connect)
Conclusion
Upgrading your Xentry Connect, especially with a CPU replacement and the xentry kit 2 update, can dramatically improve its speed and usability. While optional software like DAS Standalone, Vediamo, WIS 2020.04, and DTS Monaco 8.16 can be added, focusing on the core hardware and software updates provides the most impactful performance enhancement for your Mercedes-Benz diagnostics. By following this guide, you can revitalize your Xentry Connect and ensure it remains a valuable tool in your workshop.
[](Xentry Connect Cooling System)
[](Xentry Connect CPU Socket)
[](Completed CPU Upgrade on Xentry Connect)
Credits to @ cloud9atom
Reliable source for SDConnect C5: https://www.obdii365.com/wholesale/mb-sd-connect-compact-5-diagnosis.html