Mercedes-Benz vehicles are renowned for their sophisticated engineering and advanced technology. To properly diagnose and maintain these complex machines, specialized diagnostic software is essential. Xentry Mercedes diagnostic software stands out as the premier tool for comprehensive vehicle analysis, offering capabilities far beyond generic OBD-II scanners. This article provides an in-depth look at Xentry software, guiding you through understanding its features, compatibility, and how to download and install it effectively to ensure your Mercedes-Benz receives the expert care it deserves.
Understanding Mercedes Xentry Diagnostic Software
Xentry is the official diagnostic software suite used by Mercedes-Benz technicians worldwide. It’s engineered to provide unparalleled access to your vehicle’s systems, going deep into the electronic control units (ECUs) that govern everything from the engine and transmission to the braking system, chassis, and infotainment. Unlike aftermarket tools that offer limited functionality, Xentry delivers dealer-level diagnostic depth, allowing for precise fault identification, component testing, and even complex programming and coding procedures.
With Xentry, you can perform a wide array of critical tasks:
- Read and Clear Diagnostic Trouble Codes (DTCs): Pinpoint the exact source of vehicle malfunctions and clear error memory after repairs.
- Actuator Tests: Individually test components like relays, solenoids, and motors to verify their functionality.
- Live Data Streaming: Monitor real-time sensor data and system parameters to diagnose intermittent issues and assess overall vehicle health.
- Adaptations and Calibrations: Perform necessary adjustments after component replacements, such as throttle valve adaptations or steering angle sensor calibrations.
- Module Programming and SCN Coding: Update software in control units and perform Security Chain (SCN) coding for component protection and function enablement (certificate required for newer models).
- Wiring Diagrams and Repair Information: Access integrated workshop information systems (WIS) and electronic parts catalogs (EPC) for detailed repair guidance and parts look-up.
The latest versions, such as Xentry Openshell 10/2024 and Xentry Passthru 10/2024, extend support to Mercedes-Benz models up to the current year, ensuring you have the most up-to-date diagnostic capabilities.
Choosing the Right Xentry Version: Openshell vs. Passthru
When considering a Xentry Mercedes Software Download, it’s important to understand the two primary versions available: Openshell and Passthru. The choice between them depends largely on your diagnostic interface and the level of access you require.
-
Xentry Openshell: This is the more comprehensive version, designed for use with professional diagnostic multiplexers like SD Connect C4/C4 DOIP, SD Connect C5, and VCI C6. For optimal performance and full system access, the SD Connect C4 DOIP is often recommended due to its robust capabilities and support for newer communication protocols. Openshell provides the deepest level of diagnostic access and functionality, including advanced programming and coding.
-
Xentry Passthru: This version is engineered for use with J2534 compliant Vehicle Communication Interfaces (VCIs). This standard allows for broader compatibility with various aftermarket diagnostic tools, including devices from VAS5054, Autel, and Open Port. Passthru offers a more streamlined approach, primarily focusing on diagnostics and basic service functions. While it provides valuable diagnostic capabilities, it may have limitations compared to Openshell in terms of advanced programming and access to certain vehicle systems.
For diagnosing the newest Mercedes-Benz models from 2021 onwards, an Xentry certificate is generally required, particularly for advanced functions like SCN coding and module programming. This certificate verifies legitimate software use and grants access to secure vehicle functions. Certificates can typically be obtained through authorized channels.
Exploring the Xentry Software Suite
A full Xentry software package is more than just diagnostic software; it’s a comprehensive suite of tools designed to support every aspect of Mercedes-Benz vehicle servicing. Key components often included in a complete installation are:
-
DAS (Diagnostic Assistance System): The foundational diagnostic application, particularly for older Mercedes-Benz models. It offers automated diagnostic routines and guided fault finding. The latest versions often include both Truck and Car versions, supporting a wide range of vehicles.
-
Xentry (Diagnosis): The successor to DAS, designed for newer Mercedes-Benz vehicles (post-2009). Xentry offers an updated interface and enhanced diagnostic capabilities for modern vehicle architectures.
-
WIS (Workshop Information System): An invaluable resource providing detailed repair instructions, wiring diagrams, component locations, and troubleshooting guides. Simply inputting the chassis number grants access to vehicle-specific manufacturing data, engine configurations, and model details.
-
EPC (Electronic Parts Catalog): A comprehensive parts database allowing technicians to quickly identify and locate genuine Mercedes-Benz parts, ensuring accurate replacements and efficient repairs.
-
ST Finder (Part Location Finder): Facilitates the location of specific components within the vehicle, saving time during diagnosis and repair procedures. Often includes data for various model years.
-
STARUTILITIES: A collection of system utilities for software management, self-tests of diagnostic interfaces, and other administrative functions.
-
SDMEDIA: Contains multimedia training and information related to Mercedes-Benz diagnostics and repair procedures.
-
PL76 (Price List): Provides parts pricing information, useful for estimating repair costs and generating accurate invoices.
-
HHT-WIN: Software specifically for diagnosing older Mercedes-Benz vehicles that utilize Hand Held Tester (HHT) interfaces.
-
Vediamo & DTS Monaco (Engineer Software): Powerful engineering and diagnostic tools used for advanced module programming, ECU flashing, and deeper system analysis. Often used for customization and development purposes, offering functionalities beyond standard diagnostics.
These components work synergistically to provide a complete diagnostic and repair solution for Mercedes-Benz vehicles.
Preparing Your System for Xentry Installation
Before you begin the Xentry Mercedes software download and installation process, ensure your computer meets the necessary system requirements. Proper preparation is crucial for a smooth installation and optimal software performance. The recommended specifications typically include:
- Operating System: Windows 10 64-bit is highly recommended for compatibility and performance.
- Storage: Allocate sufficient disk space. You’ll need approximately 23GB for the software files themselves and an additional 110GB of free space on your system drive (typically the C: drive) for the installation process.
- Processor: An Intel Core i5 3rd generation processor (or equivalent) with a clock speed of 2.3 GHz or higher is recommended for adequate processing power.
- RAM: 8GB of RAM or more is essential for smooth multitasking and efficient software operation.
- .NET Framework 4.8: Ensure that Microsoft .NET Framework 4.8 is installed on your system, as Xentry relies on this framework to function correctly.
Meeting these minimum specifications will help prevent installation issues and ensure that Xentry runs reliably.
Step-by-Step Guide to Installing Xentry Diagnostic Software
Installing Xentry software involves a series of steps that need to be followed carefully to avoid errors. This guide outlines the general installation process. Specific steps might vary slightly depending on the exact software package and version.
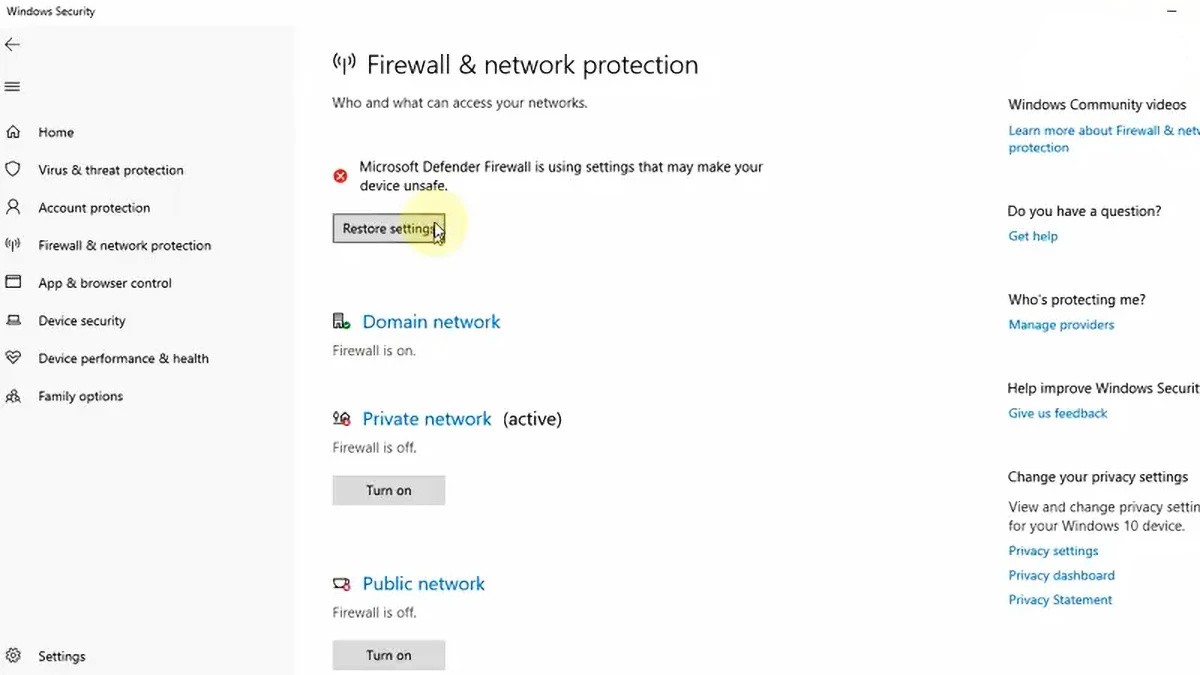
Step 1: Disable Antivirus and Firewall
Temporarily disabling your antivirus software and Windows Firewall is crucial during the installation process. These security measures can sometimes interfere with the installation files and lead to errors or incomplete installations.
-
Open Windows Security: Click on the Windows search bar (usually located in the bottom-left corner of your screen) and type “Windows Security.” Select “Windows Security” from the search results.
-
Navigate to Virus & Threat Protection: In the Windows Security window, click on “Virus & threat protection.”
-
Manage Settings: Under “Virus & threat protection settings,” click on “Manage settings.”
-
Disable Real-time Protection: Toggle the switch labeled “Real-time protection” to the “Off” position.
-
Confirm Prompts: If any confirmation prompts appear asking if you want to turn off real-time protection, confirm “Yes” or “Allow.”
Step 2: Run the Xentry Software Installer
-
Enable VCRedist: Before initiating the main Xentry installation, ensure that “VCRedist x86 x64” is enabled on your system. This component is often required for the software to run correctly.
-
Locate Software Folder: Navigate to the folder containing your Xentry software installation files.
-
Mount the ISO Image: Double-click on the “XDOS” file (or the main installation file, which might have a slightly different name depending on your package). Select “Mount” from the options. This will mount the ISO image as a virtual drive.
-
Initiate Installation: Open the mounted virtual drive and locate the setup executable file (e.g., “Setup.exe” or “Install.exe”). Double-click to run the installer and begin the installation process.
-
Administrator Privileges and Language Selection: Run all installation applications as administrator. Right-click on the executable file and select “Run as administrator.” Choose your preferred language when prompted by the installer.
-
Monitor Installation Progress: Allow the installation to proceed uninterrupted. Xentry software installations can be quite lengthy, potentially taking several hours to complete depending on your system speed and the software package size.
-
Verify System Requirements and Free Space: During the installation, double-check that you have sufficient free disk space and that .NET Framework 4.8 is installed. Consider enabling the “Microsoft Message Queuing Server (MSMQ)” feature if your Windows version requires it (this is sometimes necessary for certain Xentry functions).
Step 3: Reboot Your Computer
After the Xentry installation process reaches completion, the installer will typically prompt you to reboot your computer. It’s essential to restart your system to finalize the installation and allow the software to configure correctly.
{width=1200 height=675}
*Alt text: Screenshot showing a prompt from the Xentry installer requesting a system reboot after installation completion.*Step 4: Re-disable Antivirus (If Re-enabled)
After your computer restarts, check if your antivirus software has automatically re-enabled itself. If it has, disable it again, as it may still interfere with the software activation and initial run. Follow the same steps as in Step 1 to disable real-time protection.
{width=1200 height=675}
*Alt text: Screenshot reminding users to re-disable antivirus protection after system reboot for proper Xentry software functioning.*Step 5: Disable Xentry PDF Background Processes (Optional)
In some cases, background processes related to Xentry’s PDF viewer can consume system resources. You can disable these processes through Task Manager if you experience performance issues.
- Open Task Manager: Right-click on the Windows taskbar (usually at the bottom of the screen) and select “Task Manager.”
- Locate PDF Processes: In Task Manager, go to the “Details” or “Processes” tab (depending on your Windows version). Look for processes related to PDF viewing or Xentry documentation.
- End Processes: If you find any such processes consuming significant resources, right-click on them and select “End task” to terminate them.
Step 6: Software Activation and License Key Insertion
The activation process can vary depending on your Xentry software source. Generally, it involves:
-
Locate Crack/License Folder: Navigate to the “CLO” drive or the folder containing crack or license files provided with your software package.
-
Follow Instructions: Carefully follow the instructions provided with your software for applying the crack or license. This often involves copying files to specific locations or running activation tools.
Step 7: Activate Software with Activation Key
-
Run Xentry: Launch the Xentry software application.
-
Locate Activation Prompt: The software will usually prompt you for an Activation Key or ID during its initial launch.
-
Obtain Activation Key: Use the provided ID (often displayed in the activation prompt) to obtain the Activation Key. The method for obtaining the key will depend on your software provider’s instructions.
-
Enter Activation Key: Enter the Activation Key into the designated field within the Xentry software.
Step 8: Save Activation Key Securely
Once you have successfully activated Xentry, save the Activation Key in a safe and accessible location. You may need it again in the future if you need to reinstall the software or transfer it to a different computer.
Step 9: Modify LAN ID (If Required)
In some specific setups or for certain functionalities, you might need to modify the LAN ID within the Xentry software settings. Consult your software provider’s instructions if this step is necessary for your configuration.
Step 10: Verify and Utilize Xentry Software
-
Launch Xentry: Start the Xentry software.
-
Connect Interface: Connect your Mercedes-Benz diagnostic interface (e.g., SD Connect C4 DOIP) to your computer and your vehicle.
-
Vehicle Communication Test: Perform a vehicle communication test within Xentry to verify that the software can successfully communicate with your Mercedes-Benz.
-
Explore Functionality: Explore the various diagnostic functions and features of Xentry to familiarize yourself with its capabilities.
Troubleshooting Common Xentry Installation Failures
Despite careful adherence to installation steps, you might encounter issues. Here are some common reasons for failed Xentry installations and potential solutions:
- Incorrect Activation Key: Ensure you are using the correct and valid activation key provided with your software package. Double-check for typos and follow the activation instructions precisely.
- Antivirus/Firewall Interference: Strictly ensure that both your antivirus software and Windows Firewall (or any third-party firewall) are completely disabled throughout the entire installation and activation process.
- Insufficient Disk Space: Verify that you have enough free disk space on your system drive (C:) as per the recommended system requirements. If necessary, free up space by deleting unnecessary files or programs.
- Previous Xentry Version Conflicts: If you had a previous version of Xentry installed, ensure it was completely and properly uninstalled before attempting to install the new version. Residual files or incomplete uninstallations can cause conflicts. Use a dedicated uninstaller tool if necessary to remove all traces of the old software.
If you continue to experience difficulties or encounter persistent errors, seeking professional assistance is advisable. Contacting Dealers Software or a reputable provider of Mercedes-Benz diagnostic solutions can provide expert guidance and support to resolve complex installation issues efficiently, potentially saving you time and avoiding further complications.
For a wider selection of Mercedes-Benz diagnostic tools and related resources, visit https://www.obd2tool.com.