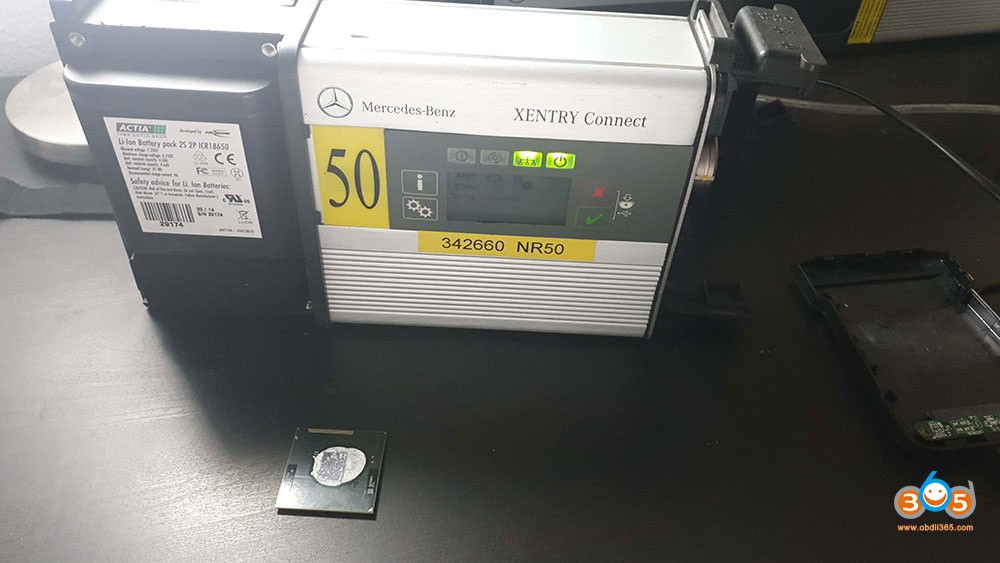
Are you experiencing sluggish performance with your Xentry Connect diagnostic tool? Many automotive technicians and Mercedes-Benz specialists find the Xentry Connect, while powerful, can be surprisingly slow. From booting up to running diagnostics, the delays can impact workflow efficiency. Unlike simpler interfaces like SDConnect (C4) or VCI (C6), the Xentry Connect is essentially a mini-computer, and its original hardware configuration can be a bottleneck.
This article delves into the inner workings of the Xentry Connect, revealing its hardware components and, more importantly, how you can significantly enhance its speed through a CPU upgrade. We’ll also cover essential software aspects, including updates and troubleshooting, to ensure your Xentry Connect Software operates at peak efficiency.
Understanding Xentry Connect Hardware and Bottlenecks
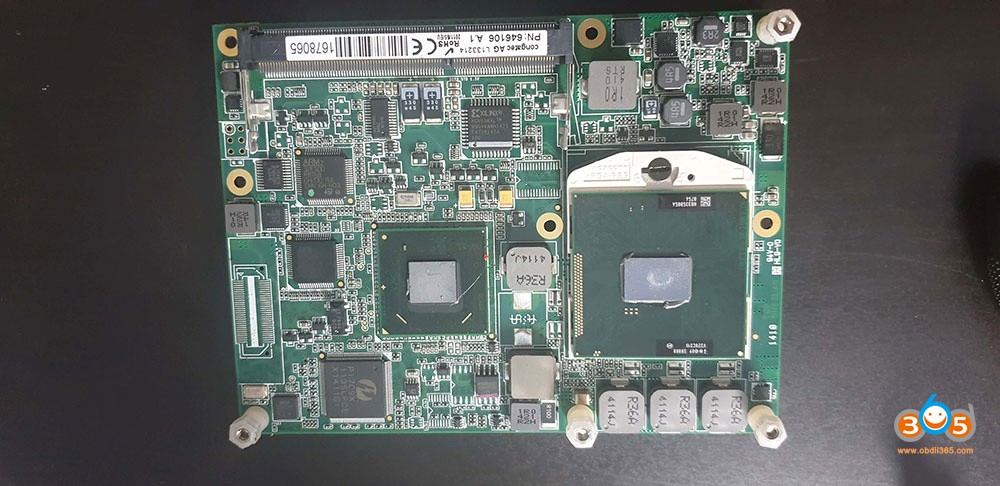
To understand why Xentry Connect can be slow, let’s look at its core components. Disassembling the unit reveals a setup akin to a compact laptop:
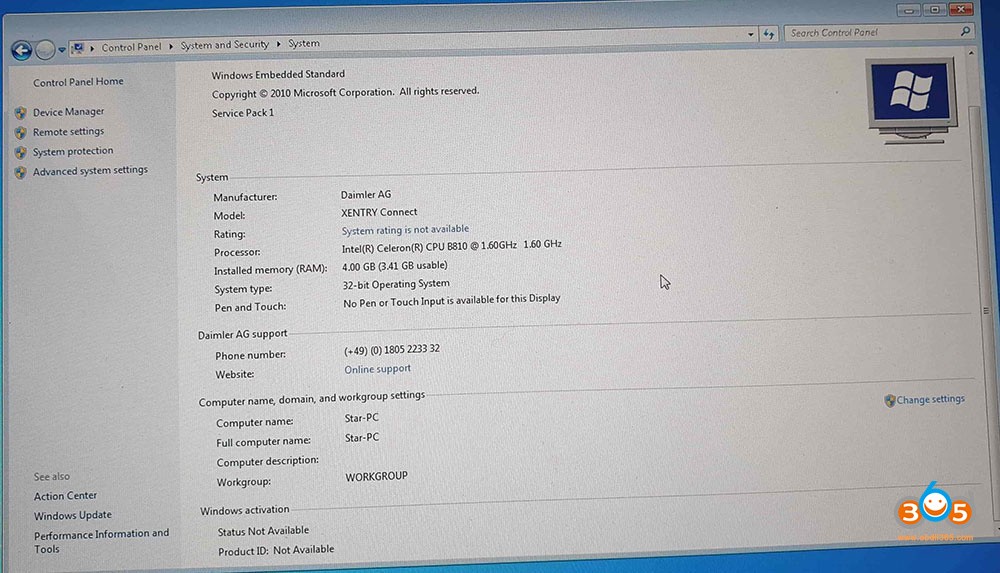
- Operating System: Windows 7 Embedded 32bit
- Motherboard Chipset: HM65
- CPU: Intel Celeron B810 (2 cores, 2 threads, 1.6Ghz, 35w, 2MB L3 cache, PGA989 socket – 2nd generation) – This is the primary performance limitation.
- GPU: Integrated Graphics
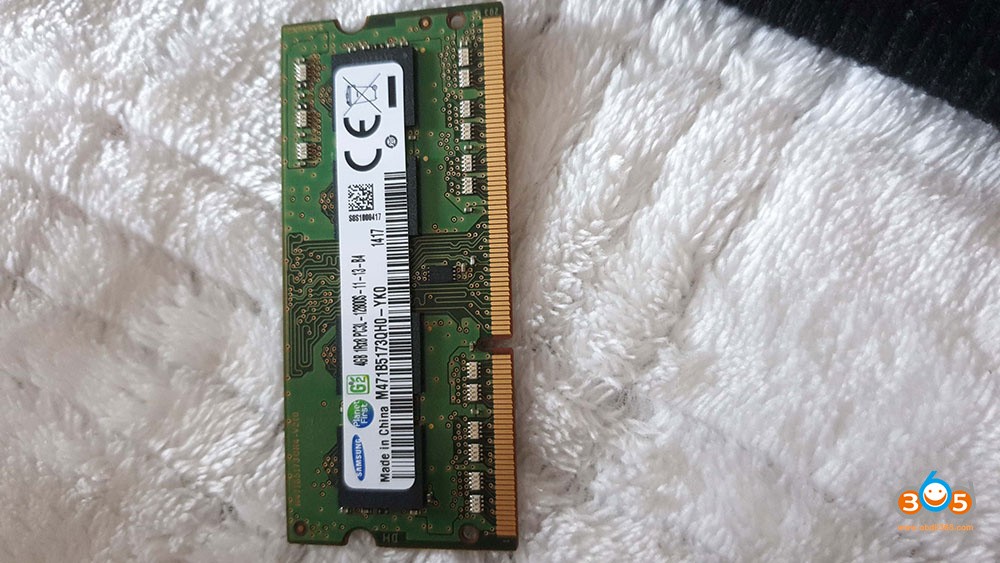
- RAM: 4GB Samsung DDR3 1333Mhz (3.5GB usable due to 32bit OS limitation)
- SSD: 256GB (various manufacturers, performance may vary)
- WiFi: Intel Centrino Advanced-N 6205 (2.4Ghz and 5Ghz, 300mbps)
This hardware configuration, dating back to development stages as early as 2011 and initial releases around 2012, features a low-end Celeron processor. While adequate for basic tasks at the time, modern diagnostic software demands more processing power.
The CPU Upgrade: Unleashing Xentry Connect Potential
The most impactful upgrade you can perform on your Xentry Connect is replacing the CPU. The original Celeron B810 is the clear bottleneck. Upgrading to a more powerful, yet compatible processor can dramatically improve speed and responsiveness.
Choosing the Right CPU: Intel Core i7 2640m
For optimal performance and compatibility, the Intel Core i7 2640m is an excellent choice. Here’s why:
- Performance Boost: 2 cores, 4 threads, 2.8Ghz base frequency, 3.5Ghz Turbo Boost, 4MB cache, and still within the 35W TDP (Thermal Design Power) limit.
- Compatibility: Utilizes the same PGA989 socket (2nd generation Intel), ensuring direct compatibility with the Xentry Connect motherboard.
- Thermal Considerations: Crucially, it maintains the 35W TDP of the original Celeron, preventing overheating issues with the Xentry Connect’s cooling system (single radiator and dual small fans).
Performance Gains Demonstrated:
| Task | Celeron B810 | Intel Core i7 2640m | Improvement |
|---|---|---|---|
| Xentry Program Start to Data Status | 57 seconds | 25 seconds | 56% Faster |
| Sleep Mode to “No Car Connected” | 47 seconds | 37 seconds | 21% Faster |


These benchmarks clearly illustrate the substantial speed increase achieved by simply upgrading the CPU. While experimenting with even more powerful processors like the 4-core i7 2670qm might seem tempting, it’s not recommended due to increased power consumption and potential system instability. The motherboard may not reliably supply the necessary power, leading to shutdowns. Sticking to 2-core, 4-thread CPUs within the 35W TDP is the safest and most effective upgrade strategy.
Step-by-Step CPU Installation Guide
Caution: Disassembling electronic devices carries risks. Perform this upgrade at your own risk and ensure you are comfortable with hardware modifications.
- Power Down and Disconnect: Completely power off the Xentry Connect and disconnect the power supply.
- Battery Removal: Open the Xentry Connect casing and carefully disconnect and remove the battery.
- Back Shield Removal: The back shield is typically held in place with double-sided adhesive. Gently pry it off.
- Radiator Screws: Unscrew the six screws securing the radiator to the CPU.
- Radiator Removal: Carefully lift and remove the radiator.
- CPU Socket Lever: Locate the small black lever on the CPU socket. Turn it to release the existing Celeron CPU.
- CPU Swap: Gently remove the Celeron CPU and install the new Intel Core i7 2640m CPU. Ensure it’s seated correctly in the socket.
- Thermal Paste: Apply new thermal paste to the top of the CPU to ensure proper heat transfer to the radiator.
- Reassembly: Reverse the disassembly process to reassemble the Xentry Connect, ensuring all components are securely in place.
Image alt text: Xentry Connect C5 internal hardware after disassembly showing motherboard and components ready for CPU upgrade.
Image alt text: Close up view of the Xentry Connect motherboard with the cooling radiator removed, exposing the CPU socket.
Image alt text: Image highlighting the CPU socket lever on the Xentry Connect motherboard, used to secure the CPU.
Image alt text: The original Celeron B810 CPU removed from the Xentry Connect, ready to be replaced with an upgraded processor.
Image alt text: Applying thermal paste to the new Intel i7 2640m CPU before installing the cooling radiator in the Xentry Connect.
Image alt text: Reinstalling the cooling radiator onto the Xentry Connect CPU after the upgrade, ensuring proper thermal management.
Image alt text: Xentry Connect motherboard with upgraded Intel i7 CPU and cooling system reinstalled, ready for final assembly.
Image alt text: Fully reassembled Xentry Connect C5 diagnostic tool after CPU upgrade, showing external casing.
Xentry Connect Software: Updates, Configuration, and Licensing
Beyond hardware, keeping your xentry connect software up-to-date is crucial for optimal performance and access to the latest diagnostic features.
Software Updates
It’s highly recommended to update your Xentry Connect to the latest available software version, which, for this hardware, is typically 2020.06. Note that newer Xentry versions beyond 2020.06 may require newer hardware platforms like Xentry Kit 3 or 4.
Updating Procedure:
- Download Xentry Kit 2 06-2020 Final Edition: Obtain the software update package (link in original article attachments).
- Prepare USB Drive: Extract the downloaded files to a minimum 32GB USB stick or external SSD/HDD.
- Standby Mode: Ensure your Xentry Connect is in standby mode. This can be achieved via the device menu or through Xentry Control.
- Connect Power and USB: Connect the power supply to the Xentry Connect and insert the USB drive into a free USB port.
- Initiate Update Mode: Simultaneously press and hold the “red cross” and “green tick” buttons on the Xentry Connect to start the update process.
- Confirm Update: When “Start update” appears on the display, confirm with the “green tick” button.
- Update Process: The update will commence, indicated on the display. This process can take around 100 minutes.
- Completion: The Xentry Connect will display a completion message. You can finalize by pressing the “gearwheels” button or wait for auto-shutdown (approximately 10 minutes).
Configuration and Licensing
After updating, you’ll need to configure your Xentry Connect via Xentry Control software on your laptop. This involves setting up LAN and WiFi connections, among other settings.
License expiration is a common issue, particularly as dealerships transition to newer Xentry kits. If you encounter license issues (“No Access authorization code”), you may need to reactivate your license.
Troubleshooting Common Xentry Connect Issues
Encountering problems with your xentry connect software or hardware? Here are solutions to some common issues:
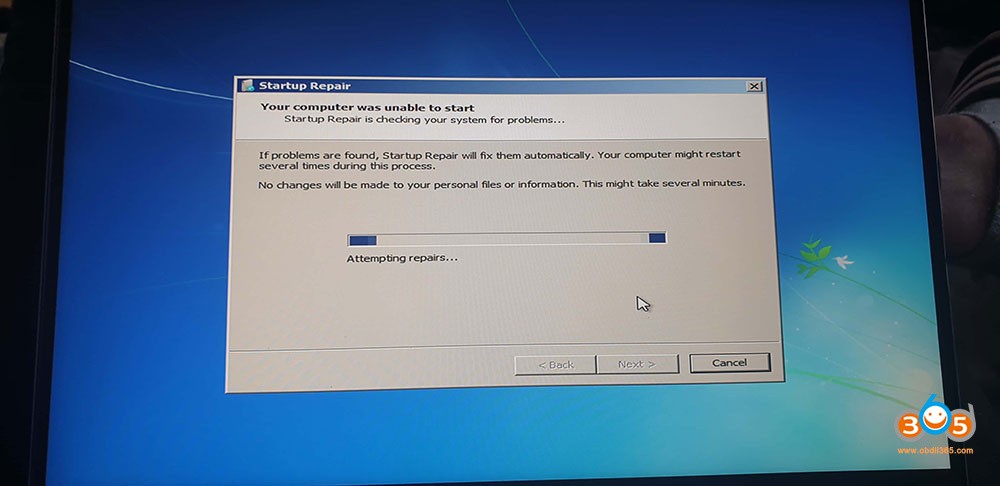
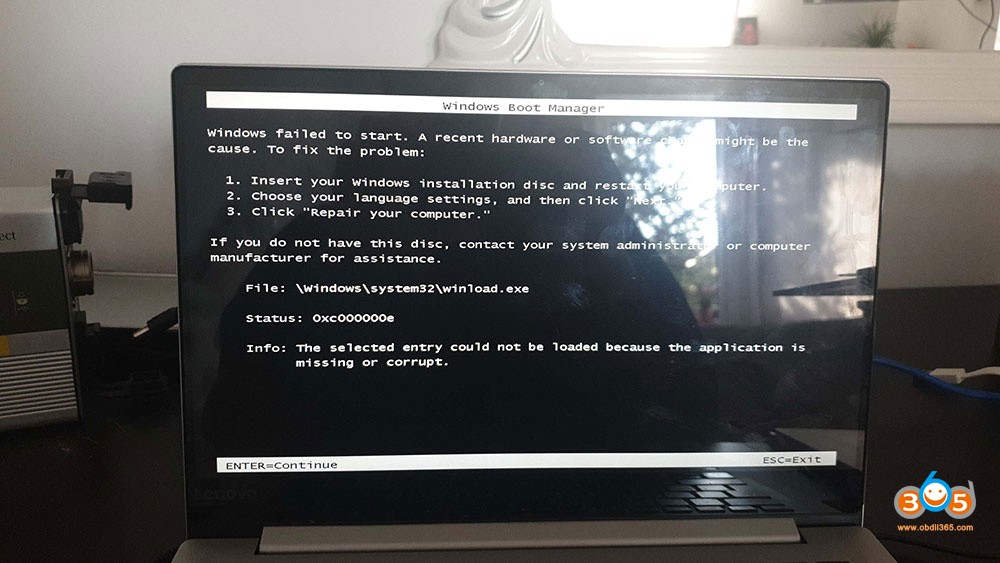
- “Device is booting/Update” Loop: If the device hangs on boot or update screens, it often indicates a corrupted Boot Configuration Data (BCD).
- Solution: Create a normal (non-embedded) Windows 7 32bit bootable USB drive. Boot from this drive, access “Repair my computer,” and run “Startup Repair.” Reinstall the SSD and ensure it is securely connected.
- Update Errors: For any update errors, use the Support Tool within Xentry Control. Utilize the “Reset” function, selecting “Setting up USB data media,” and follow the on-screen prompts with a USB stick. Then, re-attempt the 2020/06 update.
- Display Issues (No Text): If the display lights up but shows no text, this could indicate hardware faults, missing display files, or BIOS issues, requiring more in-depth diagnostics.
Optimizing Overall Performance
Beyond CPU upgrades and software updates, consider these optional optimizations:
- SSD Upgrade: While the stock SSD is adequate, a faster SSD could offer marginal improvements in loading times. Cloning the original SSD to a reputable brand SSD is an option.
- RAM: 4GB is the maximum usable RAM with the 32-bit Windows 7 Embedded OS. Upgrading RAM beyond 4GB is not beneficial unless you undertake the complex task of installing a 64-bit OS (not officially supported and potentially unstable).
- WiFi: Upgrading the WiFi card is possible, but driver compatibility and potential instability (as reported with Intel AC-7260) should be considered.
- Cooling Maintenance: Regularly remove the back cover and clean out accumulated dust from the radiator and fans. Over time, dust buildup significantly hinders cooling efficiency, potentially impacting performance and longevity.
Conclusion
Upgrading the CPU in your Xentry Connect is a highly effective way to combat performance bottlenecks and significantly speed up your diagnostic processes. Combined with keeping your xentry connect software updated and addressing common issues, you can ensure your Xentry Connect remains a powerful and efficient tool for Mercedes-Benz diagnostics. By understanding both the hardware and software aspects, you can optimize your Xentry Connect for peak performance and a smoother workflow.
For reliable Xentry Connect hardware and software solutions, visit xentryportal.store.
Credits to @ cloud9atom for original hardware analysis and upgrade insights.