For automotive technicians and Mercedes-Benz enthusiasts, Xentry Diagnostic software is an indispensable tool. This powerful software allows for in-depth vehicle diagnostics, troubleshooting, and system analysis, covering Mercedes-Benz models up to 2024. If you’re searching for a “Xentry Download Free”, understanding what Xentry is, its capabilities, and how to access it is crucial. This guide provides a comprehensive overview, ensuring you have the information needed to navigate the world of Mercedes-Benz diagnostics effectively.
What is Mercedes Xentry Diagnostic Software?
Mercedes Xentry Diagnostic software is the official diagnostic tool used for Mercedes-Benz vehicles. It offers a wide array of functions beyond basic error code reading. With Xentry, technicians can:
- Read and clear diagnostic trouble codes (DTCs): Identify and resolve issues across all vehicle systems.
- Perform actuator tests: Verify the functionality of components by activating them directly.
- Diagnose all vehicle systems: Access and analyze data from engine, transmission, ABS, SRS, chassis, and more.
- Access repair plans and guided diagnostics: Streamline the repair process with step-by-step instructions and wiring diagrams.
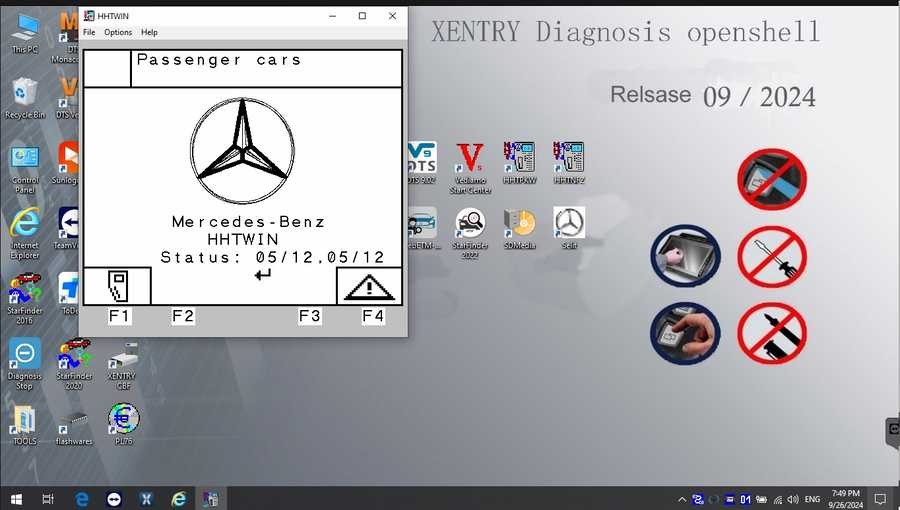
Xentry is essential for tasks ranging from routine maintenance to complex repairs on Mercedes-Benz vehicles. The latest versions, such as Mercedes Xentry Openshell 10/2024 and Mercedes Xentry Passthru 10/2024, support models up to the end of 2024, ensuring comprehensive coverage for a wide range of vehicles.
It’s important to note the different versions of Xentry cater to various diagnostic interfaces:
- Xentry Openshell 10/2024: Designed for use with professional diagnostic tools like SD Connect C4 DOIP, SD Connect C5, and VCI C6. The SD Connect C4 DOIP is often recommended for optimal performance and advanced diagnostics.
- Xentry Passthru 10/2024: Compatible with J2534 pass-thru devices, offering broader compatibility with generic diagnostic interfaces such as VAS5054, Autel, and Open Port. This version is beneficial for users who may not have dedicated Mercedes-Benz diagnostic tools.
For diagnosing newer Mercedes-Benz models from 2021 onwards, a Xentry certificate may be required. This certificate, typically obtained through authorized channels like Dealers Software, unlocks full diagnostic capabilities for the latest vehicles, extending coverage up to 2024 models.
V2024.09 Car / V2024.10 Truck MB Star C4/C5 BENZ Diagnostic Software with Xentry/ DAS/ EPC/ WIS/ Vediamo/ DTS
V2024.09 Car MB Star C4/C5 BENZ Diagnostic Software:
V2024.10 Truck MB Star C4/C5 BENZ Diagnostic Software:
This comprehensive software suite often includes additional programs that enhance the diagnostic and repair process:
- DAS (Diagnostic Assistance System): Provides automated diagnostic assistance, supporting even newer vehicle registrations.
- Xentry: The core diagnostic application for newer Mercedes-Benz models.
- WIS net (Workshop Information System): Offers detailed wiring diagrams, component locations, and maintenance procedures, accessible by chassis number for vehicle-specific information.
- EPC.net (Electronic Parts Catalog): Allows for quick parts identification and lookup.
- ST Finder: Assists in locating specific parts within the vehicle (various year options may be available).
- STARUTILITIES: Manages system movements and performs self-tests.
- SDMEDIA: Multimedia resources and tutorials.
- PL76 & HHT Software: Support for older Mercedes-Benz models.
- Vediamo & DTS Monaco (Engineer Versions): Advanced engineering and programming tools for in-depth vehicle modifications and analysis, often updated to the latest data versions. These may include functionalities like offline programming, special function access, and speed limit modifications for specific vehicle types.
Xentry Diagnostic Software Installation Guide
Installing Xentry Diagnostic software requires careful attention to system requirements and installation steps to ensure a smooth and error-free process. Before you begin seeking a “xentry download free”, make sure your computer meets these minimum specifications:
- Operating System: Windows 10 64-bit is essential for compatibility and performance.
- Storage: Allocate at least 23GB of free space for the software files and a further 110GB for the installation process itself. Insufficient disk space is a common cause of installation failures.
- Processor: An Intel Core i5 3rd generation processor (around 2.3 GHz or faster) is recommended for adequate processing power.
- RAM: 8GB of RAM or more ensures smooth operation and prevents performance issues during diagnostics.
- .NET Framework 4.8: This Microsoft framework is a prerequisite for Xentry to function correctly.
Follow these steps to install the Xentry Diagnostic software:
Step 1: Disable Antivirus and Firewall
Temporarily disabling your antivirus and firewall is crucial as they can interfere with the installation process and flag essential software components as false positives.
- Open Windows Security: Click on the search bar in the taskbar and type “Windows Security”. Select the “Windows Security” app.
- Navigate to Virus & threat protection: Click on “Virus & threat protection”.
- Manage settings: Under “Virus & threat protection settings,” click on “Manage settings”.
- Turn off Real-time protection: Toggle the switch under “Real-time protection” to the “Off” position. Confirm any prompts from User Account Control.
Step 2: Run the Software Installer
- Enable VCRedist x86 x64: Before starting the Xentry OpenShell installation, ensure that “VCRedist x86 x64” (Visual C++ Redistributable) is enabled on your system. This is often a prerequisite for the software to run correctly.
- Locate the Software Folder: Navigate to the directory where you have your Xentry software files.
- Mount the ISO Image: If the software is provided as an ISO image (common for large software packages), right-click on the “XDOS” ISO file and select “Mount”. This will mount the ISO as a virtual drive.
- Initiate Installation: Open the mounted drive and locate the setup executable (often named “Setup.exe” or similar). Double-click to run it and begin the installation process.
- Run as Administrator: Right-click on the setup executable and select “Run as administrator” to ensure the installer has the necessary permissions.
- Language Selection: Choose your preferred language for the installation process.
- Follow On-Screen Prompts: Proceed through the installation wizard, carefully following the on-screen instructions. The installation may take several hours depending on your system speed and software size. Ensure the installation process is uninterrupted.
Step 3: Reboot Your Computer
After the XENTRY installation completes, the installer will prompt you to restart your computer. It is essential to reboot your system at this stage to finalize the installation and allow system changes to take effect.
Step 4: Re-disable Antivirus (If Necessary)
After restarting, check if your antivirus software has automatically re-enabled itself. If it has, repeat Step 1 to disable it again. This is sometimes needed for the software to run without interference, especially during the initial setup and activation.
Step 5: Disable Xentry PDF Background Processes
To optimize system performance, especially on less powerful machines, it’s advisable to disable Xentry’s PDF background processes. These processes can consume system resources unnecessarily.
- Open Task Manager: Right-click on the Windows taskbar and select “Task Manager”.
- Locate PDF Processes: Look for any processes related to “Xentry” or “PDF” that are running in the background.
- End Processes: Select each unnecessary PDF process and click “End task” to close them.
Step 6: Software Crack/License Activation (If Applicable)
This step is relevant if you are using a non-official version of the software. It is important to understand the legal and security risks associated with using cracked software. This step is described for informational purposes only and is not endorsed.
- Navigate to CLO Drive: Locate the CLO drive, which is where some versions of Xentry may install critical files.
- Apply Crack/License Files: Follow the instructions provided with your software download to copy and paste any crack files or license files into the designated folders within the CLO drive or other specified locations. This often involves replacing original files with modified ones to bypass license checks.
Step 7: Activate the Software
Depending on the software version and source, activation steps may vary. Typically, this involves using a provided Activation ID to generate or obtain an Activation Key.
- Locate Activation Window: Run the Xentry software. It should prompt you for activation.
- Obtain Activation ID: The activation window will display an Activation ID or similar unique identifier.
- Generate/Obtain Activation Key: Use the provided Activation ID and a key generator tool (if provided with your software) or contact your software provider to obtain the Activation Key.
Step 8: Save the Activation Key
Once you have the Activation Key, save it securely. You may need it again in the future if you reinstall the software or move it to a different computer.
Step 9: Modify LAN ID (If Required)
In some cases, you may need to modify the LAN ID to match the activation requirements of the software. Instructions for this step are usually provided with the software.
Step 10: Verify and Utilize the Software
Launch the Xentry software and verify that it is activated and functioning correctly. Connect your diagnostic interface to your computer and then to a Mercedes-Benz vehicle to begin diagnostics.
Common Reasons for Installation Failure
Even when following instructions carefully, Xentry installation can sometimes fail. Here are some common reasons and troubleshooting tips:
- Incorrect Activation Key: Ensure the Activation Key is entered correctly and is valid for your software version. Double-check for typos and case sensitivity.
- Antivirus/Firewall Interference: If you experience issues, double-check that your antivirus and firewall were completely disabled throughout the entire installation process. Some antivirus programs may re-enable themselves after a reboot.
- Insufficient Disk Space: Verify that you have enough free disk space on your designated installation drive, as per the system requirements.
- Previous Xentry Version Conflicts: If you had a previous version of Xentry installed, ensure it was completely and correctly uninstalled before attempting to install a new version. Residual files or incomplete uninstallation can cause conflicts. Use a dedicated uninstaller tool if necessary to remove all traces of the old installation.
- System Incompatibility: While Windows 10 64-bit is the standard, other operating system issues or missing system components (like .NET Framework versions) can cause problems. Double-check all system requirements.
If you continue to face difficulties installing Xentry software, consider seeking professional assistance from Dealers Software or a qualified IT technician experienced with automotive diagnostic software. They can provide specialized support and troubleshooting to ensure successful installation, potentially saving you significant time and frustration.
For more information on Mercedes-Benz diagnostic tools and related equipment, please visit https://www.obd2tool.com.