Installing Xentry Openshell 4.2, a crucial software suite for Mercedes-Benz diagnostics, on a Windows 10 system can sometimes present challenges. This guide addresses common issues encountered during the installation process and offers solutions based on user experiences, ensuring a smoother setup for your diagnostic needs. Whether you are dealing with startkey validation problems or network connectivity hiccups, this article aims to provide practical troubleshooting steps.
Common Xentry Openshell 4.2 Installation Issues on Windows 10
Many users have reported specific problems when setting up Xentry Openshell XDOS on Windows 10. These issues range from software activation errors to difficulties in establishing connections with diagnostic interfaces. Below are some frequently reported problems and potential fixes.
1. Invalid StartKey Error in XDOS Windows 10
One common frustration is encountering a “StartKey not valid error” within ConfigAssist when attempting to input the Xentry key. Users may also face a 0x8000704C7 error when trying to use a standalone key center. While Windows 10 x64 is often recommended for Mercedes diagnostic software, these errors suggest potential conflicts or misconfigurations within the operating system or software setup.
To address this, ensure that the StartKey is correctly entered and corresponds to your Xentry Openshell 4.2 version. Double-check for typos and confirm the key’s validity with your software provider. If using a standalone key center, run it as administrator and ensure compatibility with Windows 10. In some cases, temporarily disabling User Account Control (UAC) might help, but remember to re-enable it after activation for system security.
2. Windows 10 Security Settings Interference
Windows 10’s robust security features, while beneficial, can sometimes interfere with the installation and operation of diagnostic software like Xentry Openshell 4.2. Users have reported experiencing problems potentially linked to these security settings.
If you suspect security settings are causing issues, consider temporarily adjusting them. You might try disabling real-time protection in Windows Defender or any third-party antivirus software during the installation process. Additionally, ensure that Windows Firewall is not blocking necessary Xentry components. You can create exceptions for Xentry applications in the firewall settings. However, always remember to reinstate your security measures after successfully installing and configuring your software to protect your system.
3. Windows 7 VMware and Windows 10 Compatibility
Confusion sometimes arises regarding the necessity of using Windows 7 virtual machines (VMware) on a Windows 10 system for Xentry Openshell 4.2. It’s important to clarify that running Xentry Openshell 4.2 on Windows 10 natively is indeed possible and does not require a Windows 7 VM.
Xentry Openshell 4.2 is designed to be compatible with Windows 10 64-bit Professional. The original article confirms successful operation on Windows 10 without resorting to virtual machines or Windows 7 images. Focus on direct installation on your Windows 10 system for optimal performance and resource utilization.
4. Ad-Hoc Connection Problems on Windows 10
Establishing an Ad-Hoc connection for wireless communication between your Windows 10 laptop and SDConnect C4 can be problematic. Windows 10 has tightened security around hosted networks, which can impact older protocols like WEP often used in Ad-Hoc setups.
A reported solution involves reverting your wireless adapter drivers to Windows 8.1 versions. This workaround has been shown to restore Ad-Hoc functionality under Windows 10. To implement this:
- Identify your specific wireless card model.
- Download the Windows 8.1 drivers for your wireless adapter, ensuring you download only the driver package, not the bundled software suite.
- Uninstall your current wireless adapter drivers completely through Device Manager.
- Run the downloaded Windows 8.1 driver .exe file to install the older drivers.
- Reboot your system and attempt to establish the Ad-Hoc connection again.
This driver rollback can bypass some of the Windows 10 restrictions on Ad-Hoc networks, potentially resolving connectivity issues with your SDConnect C4.
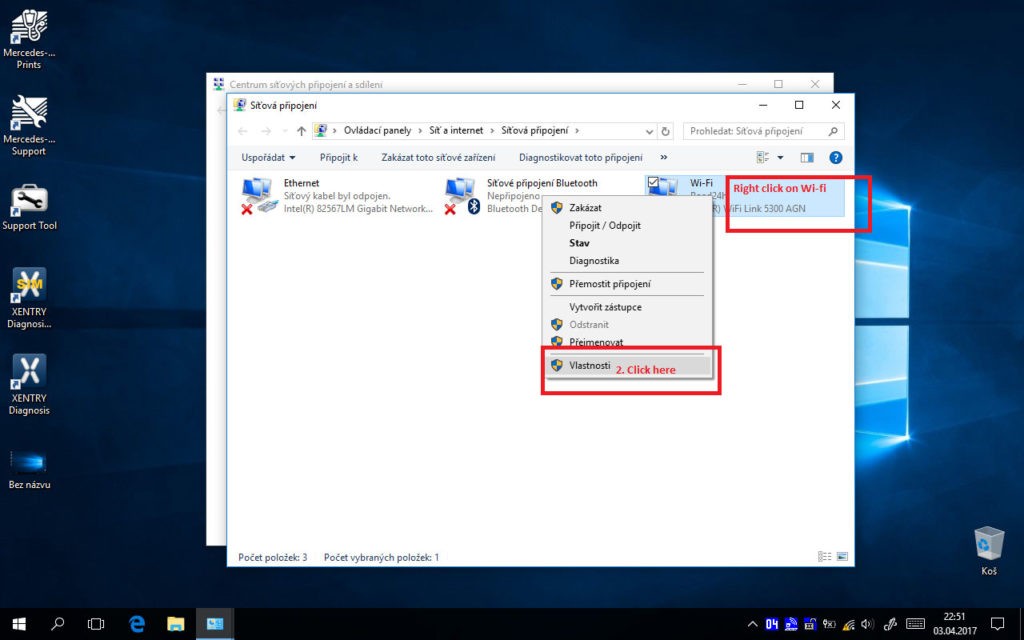
5. SDConnect C4 WiFi Connection Setup on Windows 10
Setting up a WiFi connection for your SDConnect C4 on Windows 10 might require manual configuration, especially for Ad-Hoc networks. The following steps outline a manual profile creation method to save and connect to an Ad-Hoc network:
- Note down the SSID, security type, encryption type, and key of your Ad-Hoc network.
- Disconnect from any existing wireless networks and disable your wireless adapter temporarily.
- Enable your wireless adapter but do not connect to any network.
- Open Network and Sharing Center, then go to “Manage Wireless Networks” and click “Add.”
- Choose “Manually create a network profile.”
- Enter the network name (SSID), security type, encryption type, and security key.
- Uncheck “Start this connection automatically” and “Connect even if the network is not broadcasting.”
- Click “Next” and then “Close.”
- Open Command Prompt as administrator (type “cmd” in the Start menu, right-click, and select “Run as administrator”).
- Type the command:
netsh wlan set profileparameter name=YourNetworkName ConnectionType=IBSS(replace “YourNetworkName” with your Ad-Hoc network’s SSID). - Enable your wireless adapter and try connecting to the Ad-Hoc network.
This process manually creates an infrastructure profile that is then converted to Ad-Hoc via the command line, potentially resolving connection problems. You can also create a shortcut with the command netsh wlan connect YourNetworkName in the Windows Startup folder for automatic connection at boot.
6. Finding a Reliable Source for Xentry Openshell 4.2
Securing a trustworthy source for Xentry Openshell 4.2 software is paramount to avoid corrupted files or malware. The original article references obdii365.com as a source with reported good tech support and free remote activation assistance.
When looking for Xentry Openshell 4.2, prioritize reputable vendors known for providing genuine software and reliable customer support. User testimonials and online reviews can also offer insights into the trustworthiness of a software source.
Conclusion
Successfully installing Xentry Diagnostics Openshell 4.2 on Windows 10 requires attention to detail and systematic troubleshooting. By addressing common issues like StartKey errors, security setting conflicts, Ad-Hoc connection problems, and ensuring you have a reliable software source, you can streamline the installation process. This guide, based on practical user experiences, aims to empower you to overcome these hurdles and effectively utilize Xentry Openshell 4.2 for your Mercedes-Benz diagnostic tasks.